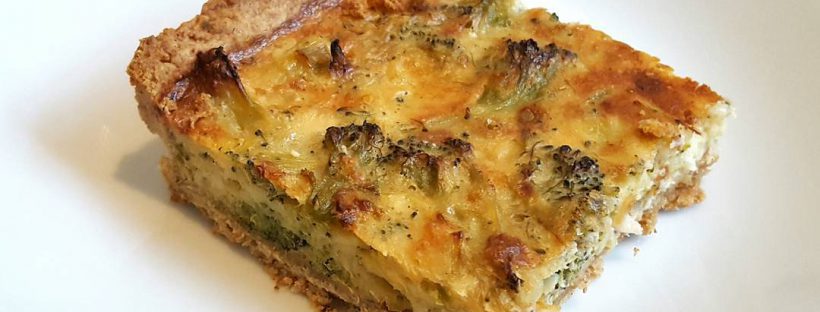

Broccoli and Parmesan Quiche by The Fat Foodie
I made this broccoli and parmesan quiche a few days ago and I was incredibly happy with how it turned out. The parmesan pie crust is a variant of a Hairy Bikers recipe that I came across and, let me tell you, I’ll definitely be using it again.
This is a gluten-free recipe, so you might need to use some more butter because gluten-free flours are renowned for being really absorbent, but let me know if you do try it please. Also, I made this with standard butter, but you could easily use a non-dairy equivalent. You may need to chill the pastry for an hour in the fridge before you use it though, just to make it easier to roll out.
In this broccoli and parmesan quiche the combination of the parmesan, butter and gluten-free flour makes for a quiche crust that has the crisp texture and taste of a really good savoury cheese biscuit. It’s crunchy and crumbly with a nutty flavour, but it’s also delicate and enhances the eggy filling of the broccoli and parmesan quiche beautifully. It’s a lovely way to worship the humble vegetable that is broccoli.
Ingredients:
For the pastry:
180g gluten-free flour (plus extra for dusting)
100g cold unsalted butter (or a non-dairy version)
2 tsp chopped fresh thyme
50g grated Parmesan cheese (or a non-dairy version)
1 medium egg yolk
1 tsp ice-cold water
For the broccoli filling:
3 medium eggs & the egg whites left over from making the pastry (waste not, want not, right?)
200g of chopped broccoli heads (not the stalks though)
200g lactose-free soft cheese (or a non-dairy version)
150g grated cheddar cheese (or a non-dairy version)
Freshly ground black pepper
Method:
To make the pastry:
Put the flour into a large bowl and rub the butter in until the mixture looks like breadcrumbs.
Add the chopped thyme and parmesan.
Add the egg yolk and cold water and mix until it forms a ball. (If you feel it’s too dry, add a little bit more water until it comes together).
Wrap your pastry in clingfilm and put it in the fridge for at least half an hour.
Preheat your oven to 180°C/160°C Fan/Gas 4.
Line your chosen pie tin with tinfoil.
Sprinkle some flour onto your work surface and roll out the pastry until it’s the right size for your pie tin.
Place your rolling pin on the edge of your pastry circle and roll the pastry onto the rolling pin (it makes it easier to transport it to the tin).
Roll the pastry back out onto the tin and push it down so it fits into the tin. (Bear in mind that the sides must be high enough to contain your quiche filling.)
This is quite a crumbly dough, so if it breaks apart don’t worry at all. Just take your pieces of dough and fill all the cracks until you’ve got a structurally sound pie case.
Prick the bottom of the pastry with a fork about 8 times (this helps release any air that might get trapped underneath).
If you have them, fill the tin with baking beans, if not don’t worry about it.
Bake in the oven for about 15-20 mins, or until it’s golden brown. Baking the pie crust first will ensure your quiche won’t have a soggy bottom.
To make the quiche filling:
Mix all of the ingredients, with the exception of 50g of the cheddar cheese, together.
Pour into the pastry case and sprinkle the remaining cheese on top.
Cook in the oven for about 20 minutes or until the egg mixture no longer wobbles when shaken.
Serve with a nice green salad.
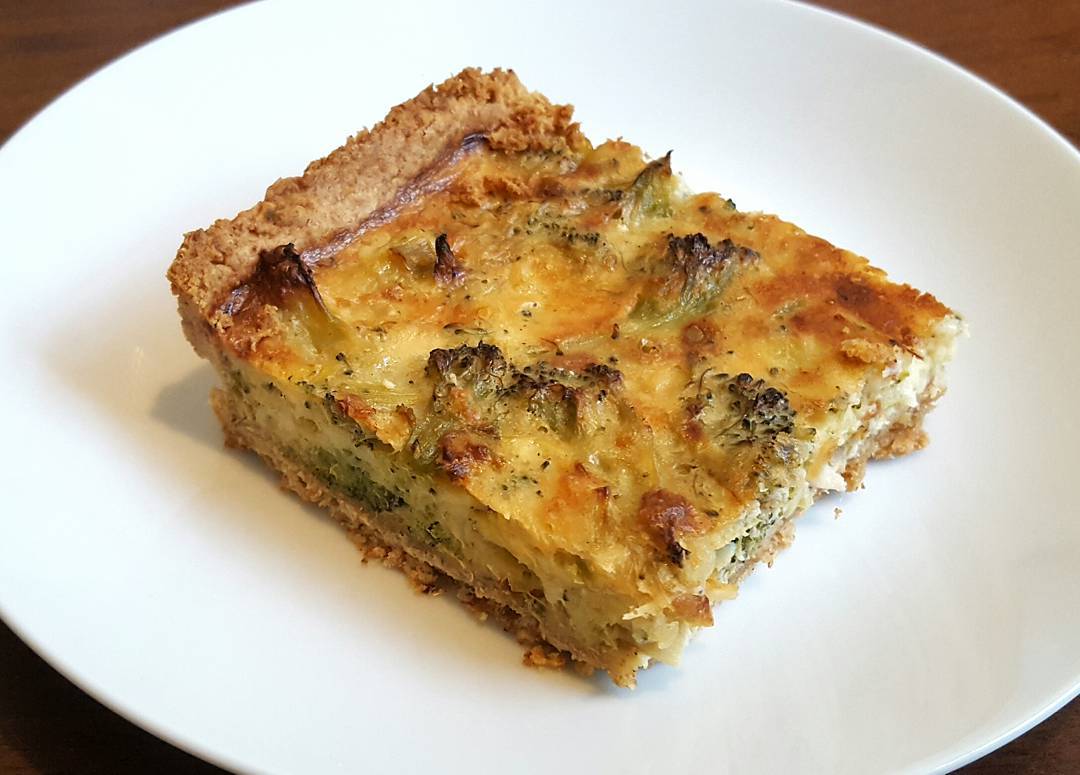
Broccoli and Parmesan Quiche by The Fat Foodie
 Copyright protected by Digiprove © 2016-2017