Sweet Potato Rostis by The Fat Foodie
I’ve been on holiday for the past week and one morning after a very long lie-in I really fancied something quite indulgent for breakfast. I’d bought a large bag of sweet potatoes at the supermarket and was looking for ways to use them up so I decided to make sweet potato rostis that I could fill with a baked egg and serve alongside some rashers of smoky bacon. That’s what days off are all about, right?
I always have lots of nuts and seeds in my larder because I find them to be a very useful source of iron and they can be added on an ad hoc basis to so many dishes. So, I thought the addition of sesame seeds to the sweet potatoes would go well, adding a toasted flavour to the natural sweetness of the sweet potatoes.
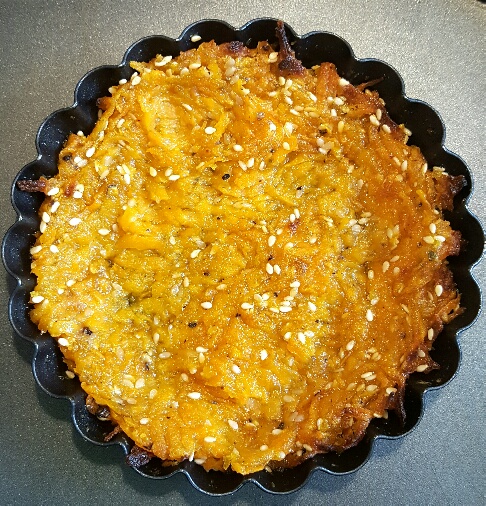
I cooked my sweet potato rostis in little tartlet tins, thinking that the tins would help the rostis to bake into a hard flan shape that would hold the baked eggs whilst also crisping up the rostis, but sadly the tins didn’t make the rostis bake into that shape. However, I’m still pleased I cooked them in the tartlet tins
because they helped form a bowl for the eggs to be baked in. One rosti is a low FODMAP portion.
These sweet potato rostis respond well to a very generous seasoning of pepper, resulting in a crunchy, but sweet, satisfying bowl of potato in which to encapsulate your chosen fillings. I’ll definitely be making these again in a heartbeat.
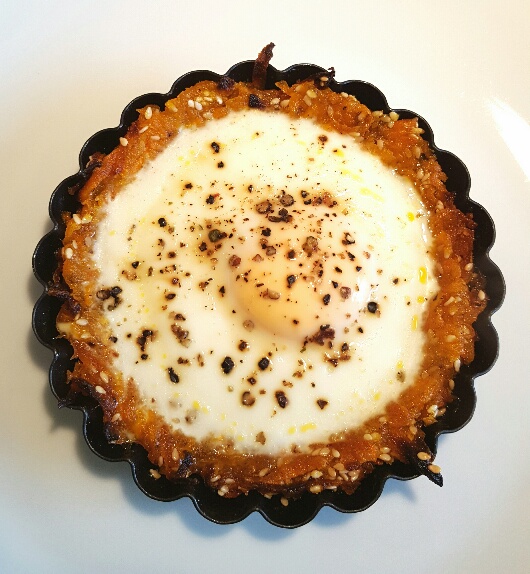
Sweet Potato Rostis with a Baked Egg by The Fat Foodie
Ingredients:
2 grated sweet potatoes (no more than 280g grated weight in total)
4 tbsps gluten-free flour (I use Dove’s Farm G/F flour because it’s made with low FODMAP ingredients whereas many other gluten-free flours are made with high FODMAP options.)
4 tbsps sesame seeds
1 tbsp olive oil
Salt and pepper
Method:
Preheat your oven to 200C/180C Fan/400F/Gas mark 6.
Grate your sweet potatoes into a large bowl and then add all of the ingredients and stir well.
Divide the mixture between the tart tins (or a large baking tray, if you’re not using the tart tins) and bake for around 25 minutes until the top of the rostis are crunchy and the base is soft.
Add your eggs and put the rostis back in the oven until the eggs are cooked to your liking. (Equally, if you’re having bacon with them you could chop the bacon up and add it to the eggs before you bake them.)
Enjoy!

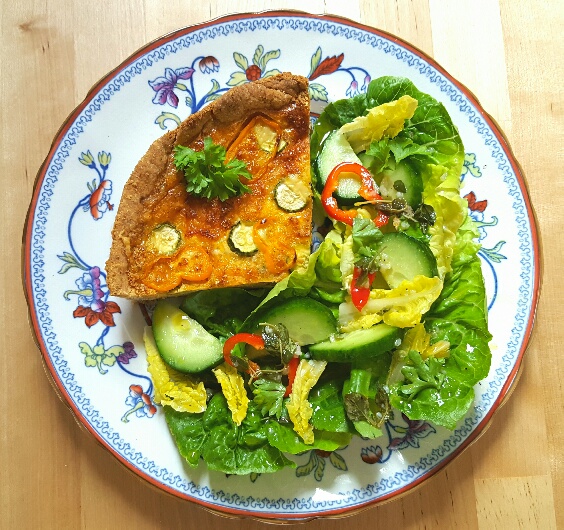
Sweet Potato Rostis with Baked Eggs and Smoked Bacon by The Fat Foodie

Sweet Potato Rostis with Baked Eggs and Smoked Bacon by The Fat Foodie
 Copyright protected by Digiprove © 2017