Lentil Ragù by The Fat Foodie
In Italy, Sicilians make a pasta sauce that’s much like a bolognese, but instead of making it with minced meat they make it with lentils. This creates a deliciously thick and ‘meaty’ lentil ragù that’s incredible over pasta.
When Jen from Your Birth Scotland tasked me with developing some recipes for her pregnant and postpartum clients the first thing I thought of was a dish that would be primarily based on green lentils because they’re one of the most incredibly nutritious and healthy pulses available. They’re also unbelievably cheap to buy and can be used in a myriad of dishes.
There are four main types of lentil which are used in cooking. Green and brown lentils hold their shape after cooking, so are suitable for using in stuffings, casseroles and warm salads. Yellow lentils break down into a pulp and tend to be used for making recipes like pease pudding or split pea soup. Puy lentils are beautiful greeny-slate coloured lentils that are grown in the Le Puy region in France and are prized for their high quality taste and their ability to retain their texture after cooking. These lentils tend to be used alongside fish and meat, such as in sausage casseroles. And lastly, we have the humble common red lentil, the most versatile lentil of all, which breaks down upon cooking to create a rich, thick puree that can be used to add texture to any dish while soaking up the flavours you wish to impart.
Aside from being highly fibrous and high in protein and carbohydrates, green lentils are packed full of vitamins and minerals, including iron, folate, calcium, phosphorous and essential B vitamins. All of these support good overall health for everyone, but are particularly useful for women who are either pregnant or postpartum because they help to maintain healthy iron levels and prevent anemia while also supporting good metabolism operation to ensure your energy levels remain stable. As you can see, green lentils are a win-win really!
One of the benefits to this lentil ragù (aside from the fact that it’s delicious!) is that it’s made in the slow cooker, allowing you to focus on other things throughout your day. It simply is a case of throwing all of your ingredients into the slow cooker
pot, setting it on low, and getting on with your day. This lentil ragu is also brilliant for freezing.
This lentil ragù is fat free, iron rich and is packed full of lots of vegetables, making it a very healthy dish indeed. If you have a partner who insists on having meat every day then you could throw some diced casserole beef in alongside the lentils and it would taste just as good. I think the lentils are quite substantial enough as they are without having to add meat to the recipe, but each to their own, I say. Also, if you’d like to give it a smokey flavoured kick, a half teaspoon of smoked paprika would do the trick. If you make this and enjoy it you could try making The Happy Pear’s Dahl recipe in your slow cooker, which is also packed full of healthy, nutritious little lentils and is lovely served with rice and naans or poppadums.
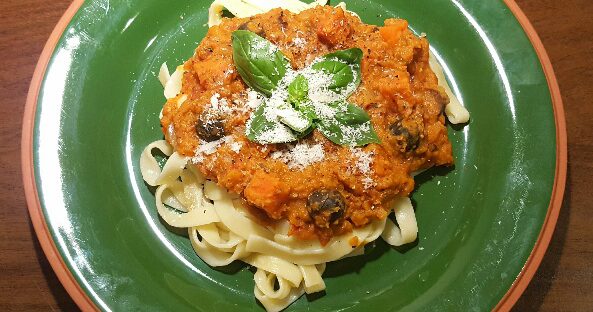
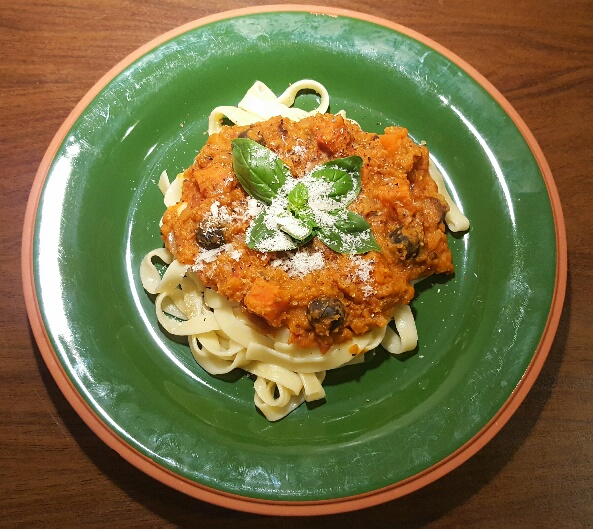
Serve your lentil ragù on a bed of tender gluten-free tagliatelle and scatter with fresh basil leaves and grated parmesan (or a vegan alternative).
Ingredients:
½ tsp of asafoetida powder
1 tbsp of garlic-infused oil
3 large carrots (cut into small pieces)
180g of tinned lentils (drained and rinsed well)
360g of tinned chopped tomatoes
2 tsps. of dried oregano
4 vegetable stock cubes
500ml of boiling water
20 pitted black olives (halved)
300g gluten-free tagliatelle
Fresh basil
Parmesan (or a vegan alternative)
Method:
Dissolve your stock cubes in a jug containing 500ml of boiling water.
Prepare the ingredients as directed and put them all in your slow cooker.
Pour the stock over the ingredients, adding more hot water if necessary so that all of the ingredients are just covered by the liquid. (This depends on the size of your slow cooker, so if you’ve got a large slow cooker you might need to add more stock.)
Let it cook for the day (if you’re in the house you could give it a stir once an hour, but it’s fine to just leave it if you’re going out).
About half an hour before you’re ready to eat, check the seasoning. If it needs it, then add salt and pepper or another stock cube or two. It’s very much down to personal taste.
Cook your tagliatelle as directed on the pack, drain, portion onto plates and top with the lentil ragù, basil and parmesan. Enjoy!
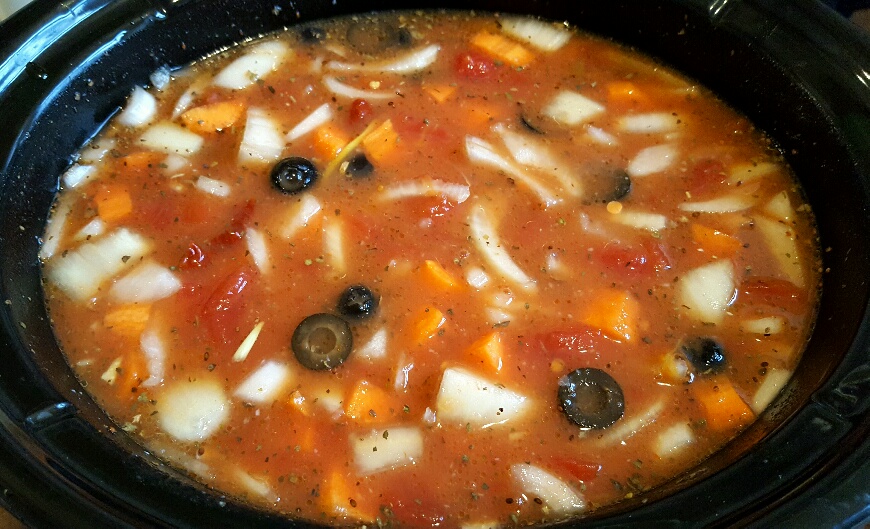
Lentil Ragù by The Fat Foodie About to be Slow Cooked
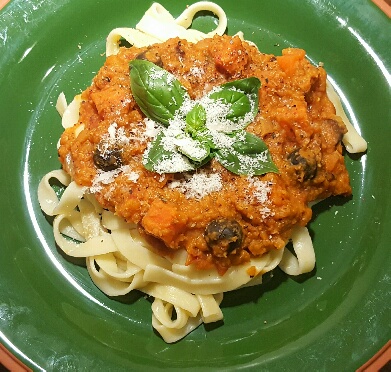
Lentil Ragù by The Fat Foodie
 Copyright protected by Digiprove © 2017-2018