Parmesan Hasselback Potatoes by The Fat Foodie
In the past few months I’ve discovered a great food blog called Cooking Without Limits which focuses on lovely recipes and gorgeous food photography. She recently put up a blog post on half Hasselback potatoes which inspired me to have a bash at creating my own variation, parmesan Hasselback potatoes.
Hasselback potatoes are a Swedish baked potato dish which looks really stunning and tastes fantastic, incorporating thinly sliced, crisp, buttery fanned out wedges of potato with whatever you choose to season them with. Although they are delicious with a simple addition of salt, if you add rosemary and parmesan cheese it truly lifts them up to the level of sublime.
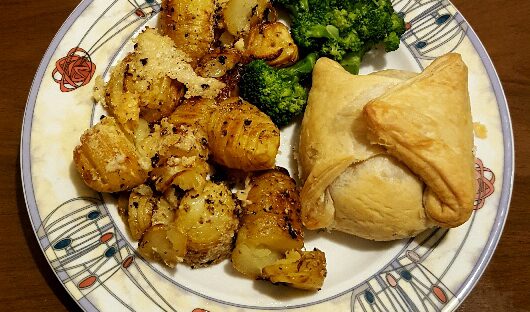
Although they look tricky to make, they’re actually surprisingly easy to prepare and you could make parmesan hasselback potatoes with sweet potatoes if you had a mind to. I made them to accompany a dinner of chicken en croute, but you could serve them with any meal that you would normally serve roast potatoes with. Actually, if you added crispy shards of smoked bacon, chilli flakes and sour cream you’d have the makings of a very satisfying main meal in itself.
I made my hasselback potatoes with a sprinkling of rosemary and a generous topping of parmesan shavings and they were divine, producing forkfuls of butter-toasted soft potato with a well-seasoned, cheesy crust. Although I made mine with little new potatoes you could easily make them with large baking potatoes too. It’d probably make one of the fanciest, but tastiest baked potatoes you’ve ever eaten!
I’d strongly encourage you to try making these parmesan hasselback potatoes because once you’ve mastered them they’re a great addition to your repertoire and instantly make any meal look enticing and more polished overall. Imagine your family’s faces when you produce a batch of these golden brown wee tatties to go with their roast chicken on Sunday!
Ingredients:
New potatoes (I make 3-4 potatoes per person as a side or 4-6 per person as a main dish)
1 tsp of salt
1 tsp ground black pepper
1 tsp finely chopped rosemary (dried or fresh, but you might need a bit more if using fresh)
3 tbsps. melted butter or vegetable oil
75g finely grated parmesan
Method:
Preheat your oven to 180°C/160°C fan/350°F/Gas mark 4.
Wash (but don’t peel) all of your potatoes and skewer them horizontally through their middles with a kebab skewer. (You can put more than one potato on each skewer.)
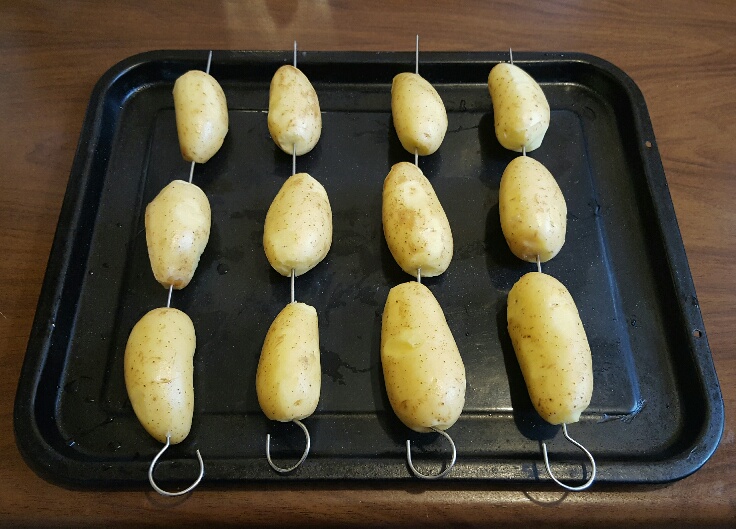
How To Skewer Your Potatoes
Lay the skewered potatoes on a chopping board and cut through each of them until your knife meets the skewer. Once you’ve done them all, flip the skewer over and repeat on the other side of the potatoes.
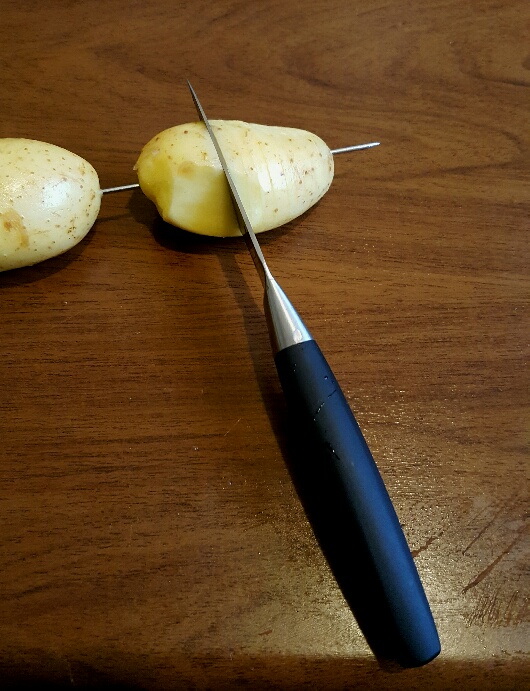
How To Cut The Potatoes
Put the potatoes on a large baking tray and brush the potatoes generously all over with melted butter, reserving some of the butter to use halfway through their cooking process. But don’t worry if you use up all of the butter before baking them because you can always use more butter, right?
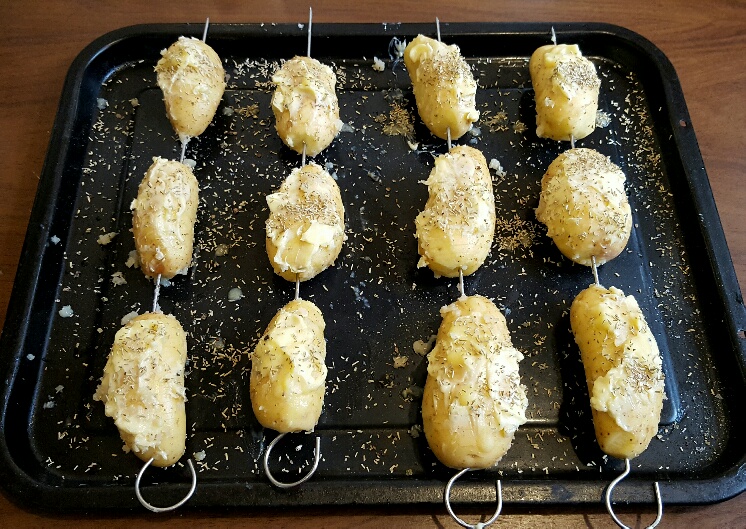
Parmesan Hasselback Potatoes Ready For The Oven
Season with salt and pepper and sprinkle on the rosemary and then put them in the oven for about 25 mins.
After this initial 25 minutes of cooking the potato slices will have started to fan out, so take the potatoes out of the oven and give them another brushing with melted butter. Put them back in the oven for another 20-30 mins.
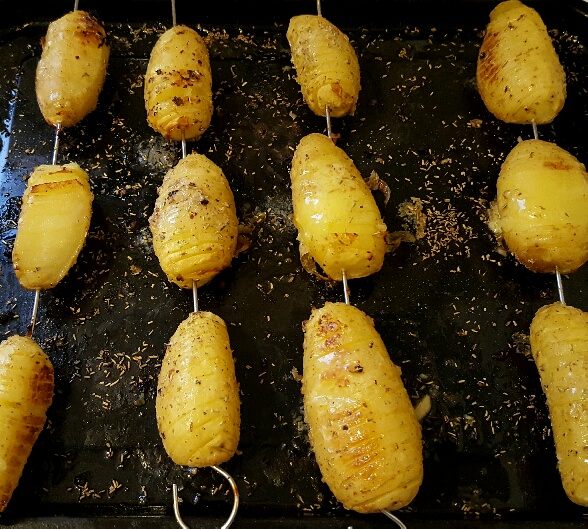
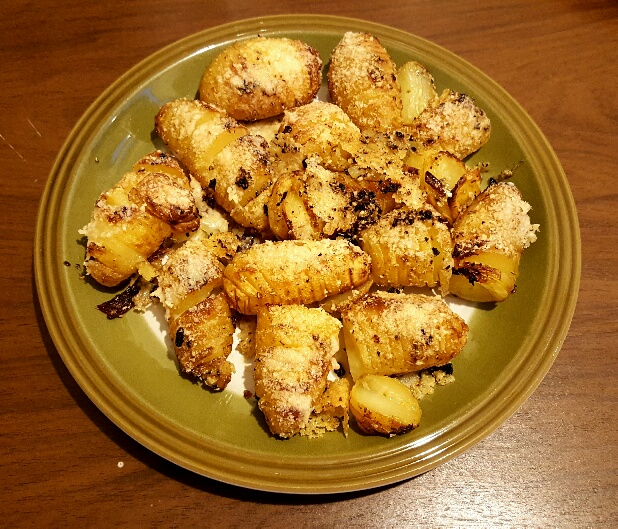
Parmesan Hasselback Potatoes by The Fat Foodie
Once the potatoes are cooked and have soft interiors and golden brown skins, take them out, sprinkle the parmesan cheese over them and put them back in the oven for a few minutes to let the cheese melt and go crispy.
Carefully remove the skewers (they’re roasting hot!) and serve.
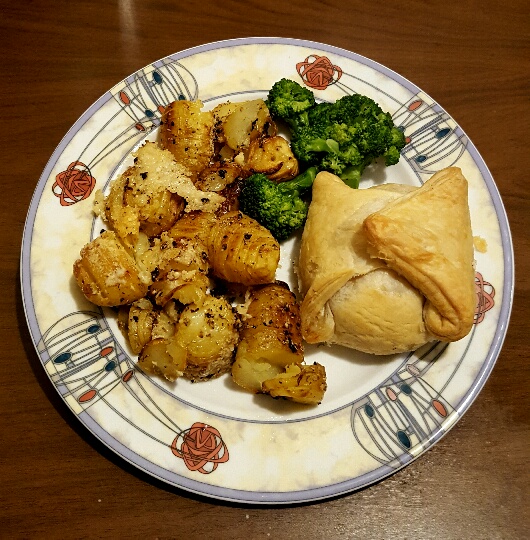
Dinner by The Fat Foodie!
 Copyright protected by Digiprove © 2016