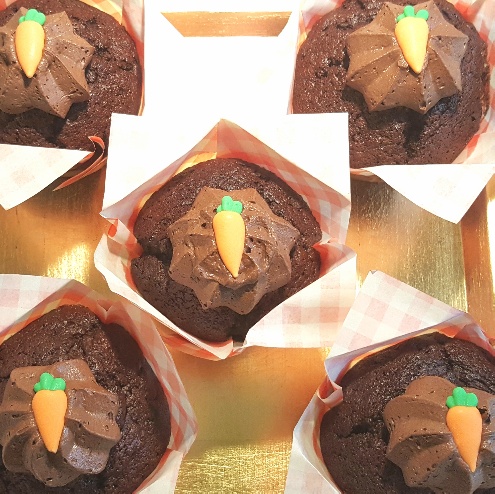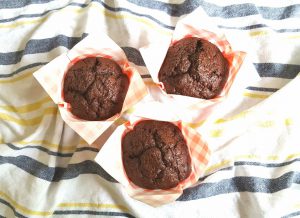
Chocolate Muffins by The Fat Foodie
Sometimes I make things that aren’t originally intended for my website, but when I taste the finished result I kick myself for not paying more attention and noting the ingredients down because it’s turned out to be a really tasty recipe. These chocolate muffins were one of those recipes. I’d had a number of sweet potatoes in the fridge that needed to be used up so I thought it’d be nice to make a batch of chocolate muffins to take into work the next day. Of course, it was only after I’d taken them into work and tasted them that I realised how lovely they were, leaving me to resolve that I’d make another batch very soon.
Although these chocolate muffins have sweet potato in them you can’t tell at all. The sweet potato simply bulks out the muffin mixture while adding moisture, body and sweetness to the sponge. The beauty of using the sweet potatoes in the chocolate muffins is that you can use less flour in the mix and it also adds a number of vitamins and minerals into the muffins that you wouldn’t ordinarily get from only using gluten-free flour.
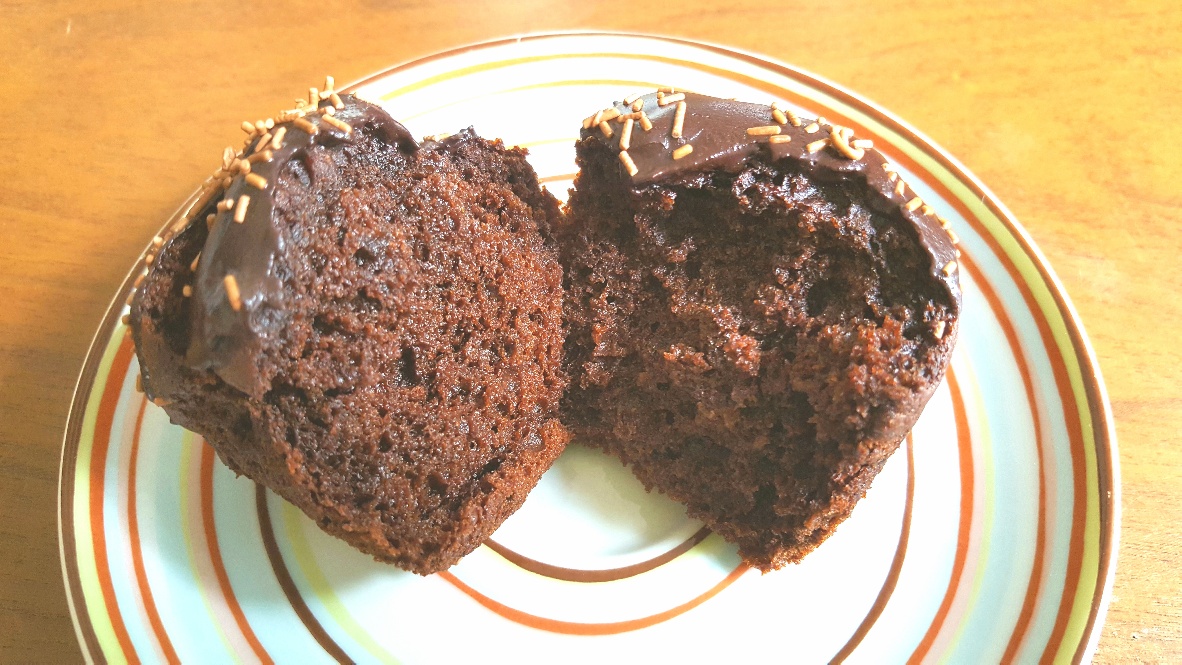
I genuinely think that this is my go-to chocolate muffin recipe from now on because they are soft, light, moist and incredibly fudgy and you certainly can’t tell that they’re gluten-free. They’re everything you could possibly want in a chocolate muffin really.
Ingredients:
420g peeled raw sweet potatoes (cut into small chunks)
200g brown sugar
100g gluten-free flour (I use Dove’s Farm G/F flour because it’s made with low FODMAP ingredients whereas many other gluten-free flours are made with high FODMAP options.)
50g cocoa
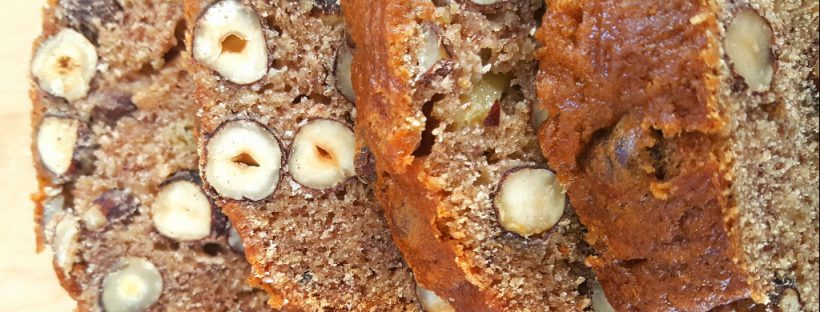
100g chopped walnuts (optional)
2 large eggs
1 tsp baking powder
1/2 tsp bicarbonate of soda
1 tsp xanthan gum
140ml vegetable oil
1 tsp vanilla extract
140ml rice milk
1/2 tsp salt
For the chocolate muffin icing:
200g icing sugar
25g cocoa
Around 1 tbsp of water (but depends on how thick you want the icing to be)
Method:
Preheat your oven to 190C/170C Fan/375F/Gas mark 5.
Lay out 12 muffin cases in a muffin tray
.
Prepare the sweet potatoes and cook them on a plate in the microwave until they are soft. Put the cooked sweet potato in a large mixing bowl, mash well and leave to cool.
Once the sweet potato is fairly cool, add all of your wet ingredients and mix well.
Add the dry ingredients and mix well.
Divide the mixture between the 12 muffin cases and bake in the oven for 30-35 mins or until a skewer pushed into the middle of one comes out clean. Leave to cool.
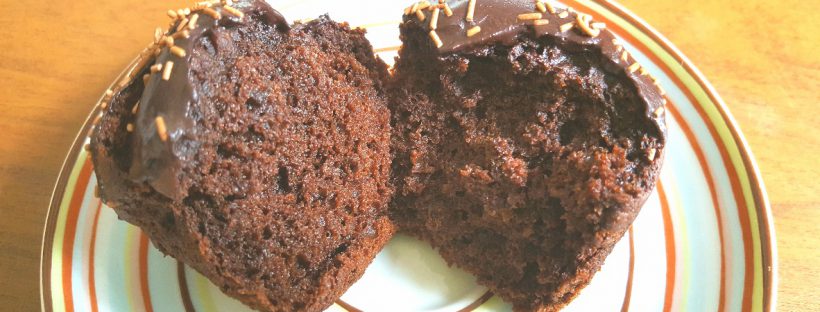
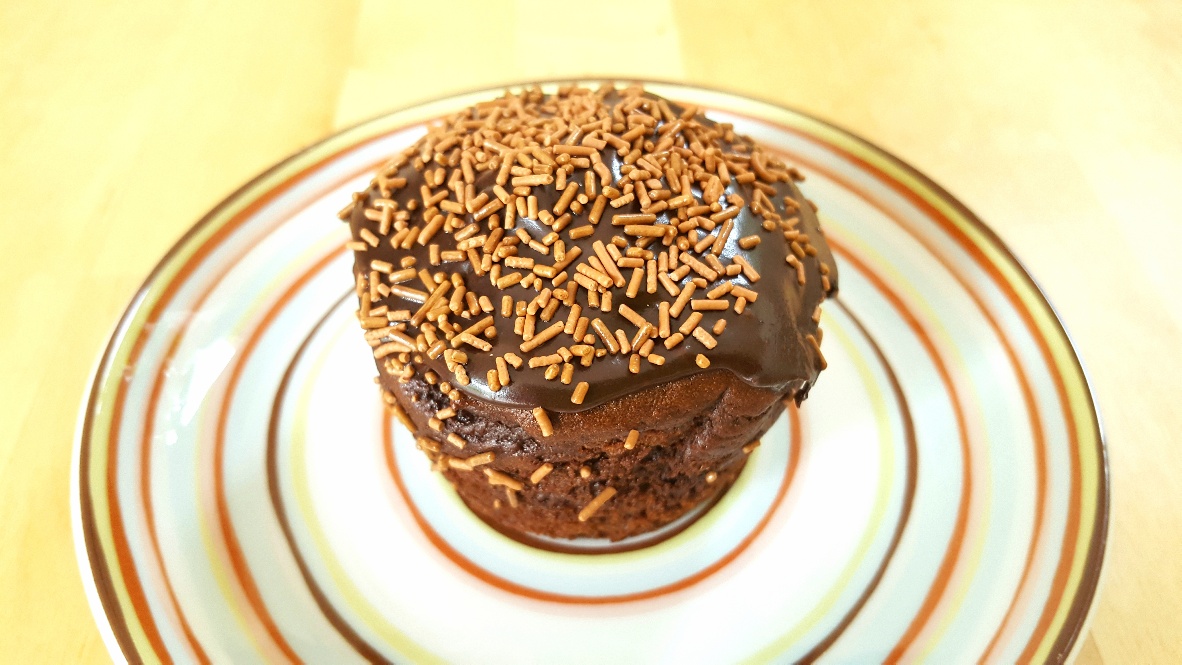
To make the icing, slowly stir the water into the icing sugar and cocoa to blend the icing together (you can make it as thick or thin as you like) and once you’re happy with the consistency pour it over the chocolate muffins.
Munch!
Chocolate Muffins by The Fat Foodie
 Copyright protected by Digiprove © 2017