Rhubarb and Ginger Cake (serves 8-10)

Rhubarb and Ginger Cake by The Fat Foodie

This rhubarb and ginger cake is one of those delightful ‘chuck all of the ingredients into a bowl and mix’ jobs, a cake baking technique that’s a firm favourite with me. I’ve written before about the ‘generosity’ of gardeners in their ‘donating’ of rhubarb to me and with the turn of spring this year has turned out to be no different. (I jest, of course.) My Dad gave me a lovely bunch of lurid, thin pink rhubarb stalks the other day and although I’d been debating about making them into a jam, after flicking through Emma Hatcher’s The FODMAP Friendly Kitchen Cookbook I decided to try making her rhubarb polenta cake.

It would be more accurate for me to describe this as a variation of Emma’s recipe because I made quite a few changes, the most important of which was adding a generous amount of ground ginger. I always think that rhubarb and ginger marry well together. My aunt and uncle who are both avid allotment gardeners make a delicious rhubarb and ginger jam that’s to die for. In fact, if you try to steal some from my Dad you run the risk of death, so it really is ‘to die for’. Worth it though…

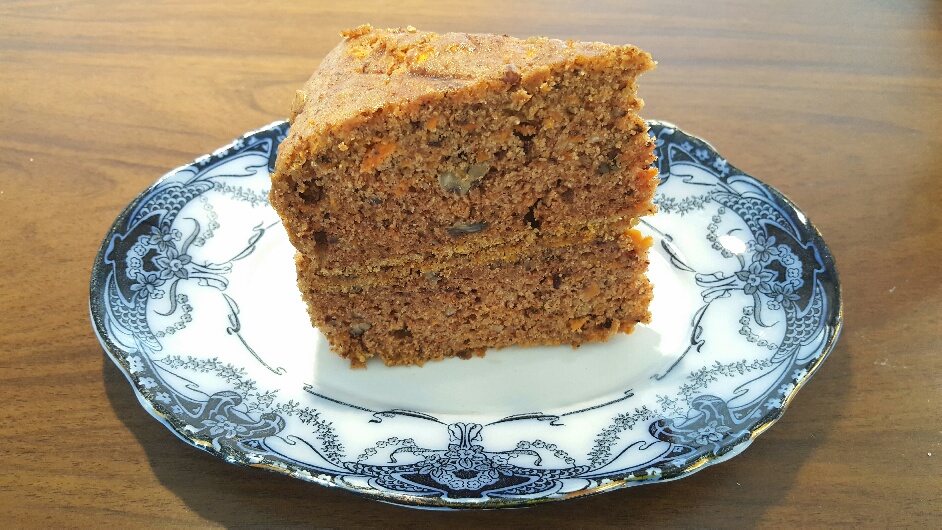
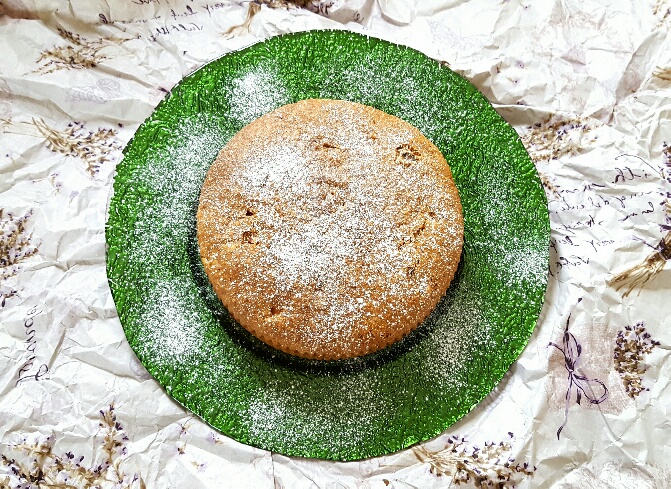
When I read that the flour base of this rhubarb and ginger cake was polenta, ground almonds and gluten-free flour I strongly suspected that the cake would be dry and tasteless, but from the minute I started mixing the cake together I could see that this assumption was very wrong. It mixed together like a ‘normal’ cake would without the granular texture I’ve come to expect from gluten-free cakes and baked very well indeed.

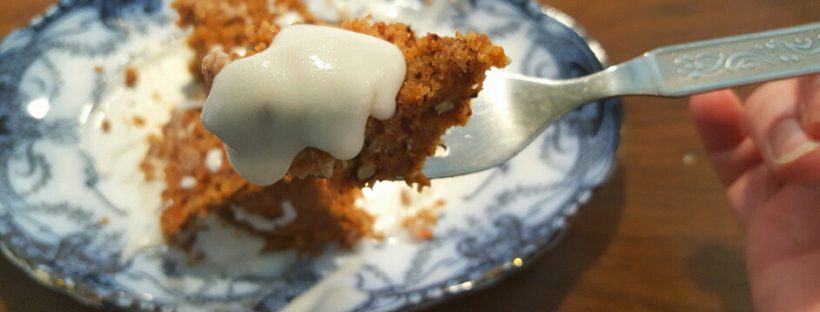
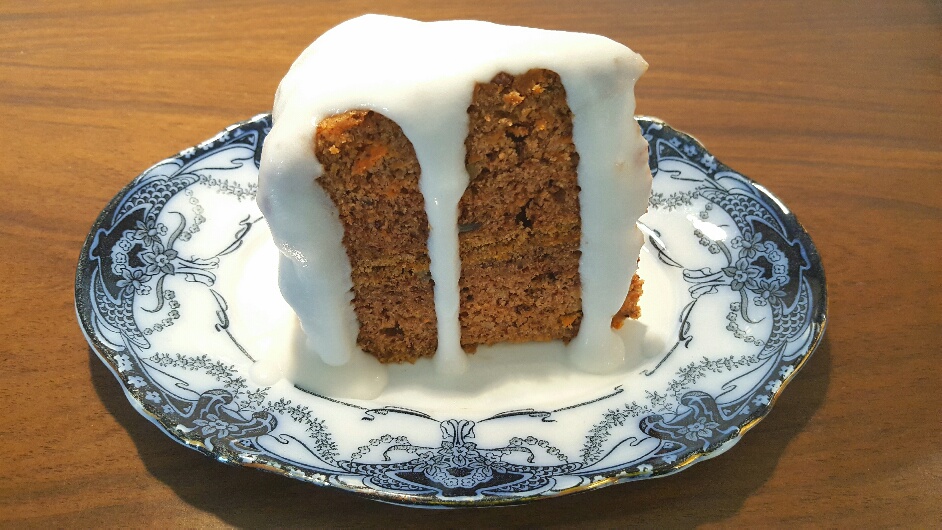
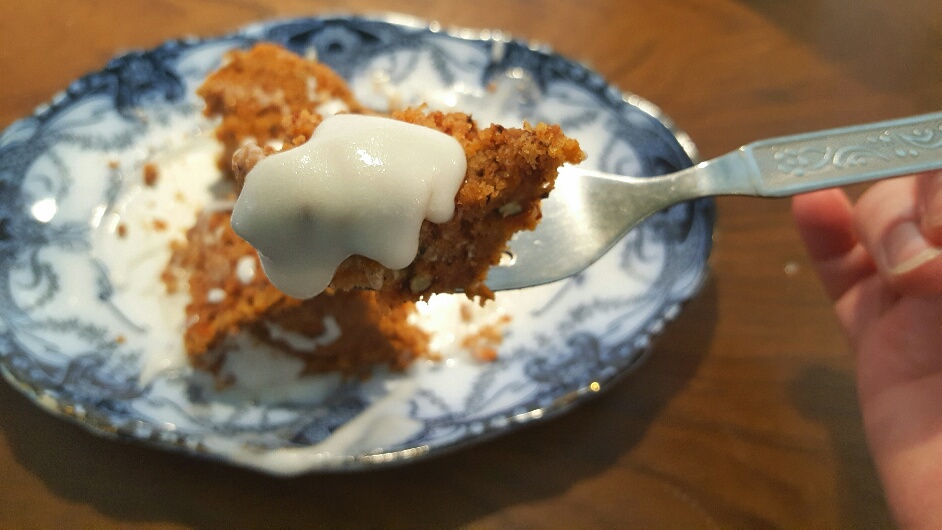
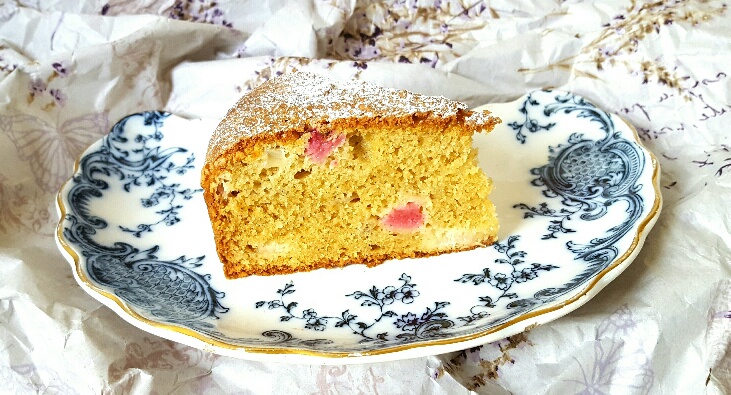
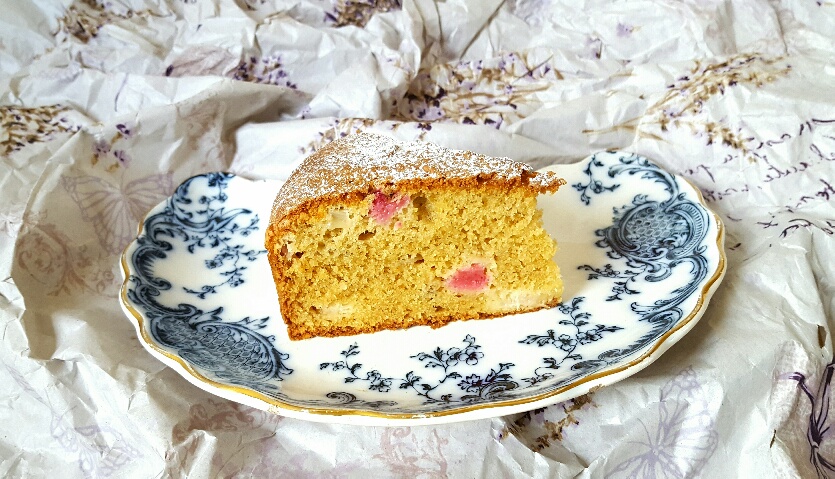
The base ingredients of this cake work so well that this could easily become my go-to gluten-free cake mix to use with other flavours. Accordingly, the finished product is a light, moist vanilla-scented cake that’s generously dotted with little chunks of soft, tart rhubarb and complemented by the warming presence of the ground ginger. The rhubarb and ginger cake is beautiful on its own, but I think it would lend itself well to a dollop of crème fraîche or a dairy-free equivalent. However you serve it, I guarantee it’ll be well received by all.

Also, if you want to try the original recipe from Emma’s book you can find it online on her publisher’s website here at Yellow Kite Books.

Ingredients:

120g fine polenta meal

75g ground almonds

50g gluten-free flour (I use Dove’s Farm G/F Plain Flour)

3 tsps ground ginger

2 tsps xanthan gum

2 tsps baking powder

1/2 tsp bicarbonate of soda

150g sugar

120ml vegetable oil

120ml rice milk

1/2 tsp apple cider vinegar

2 eggs

1 tsp vanilla extract

120g rhubarb (chopped into small pieces)

Method:

Preheat your oven to 200C/180C Fan/400F/Gas mark 6.

Prepare an 8″ cake tin with greaseproof paper or a cake tin liner (a wonderful invention which makes cake baking infinitely easier than having to cut out circles of greaseproof paper to fit your tins!).

Cut the rhubarb into small pieces.

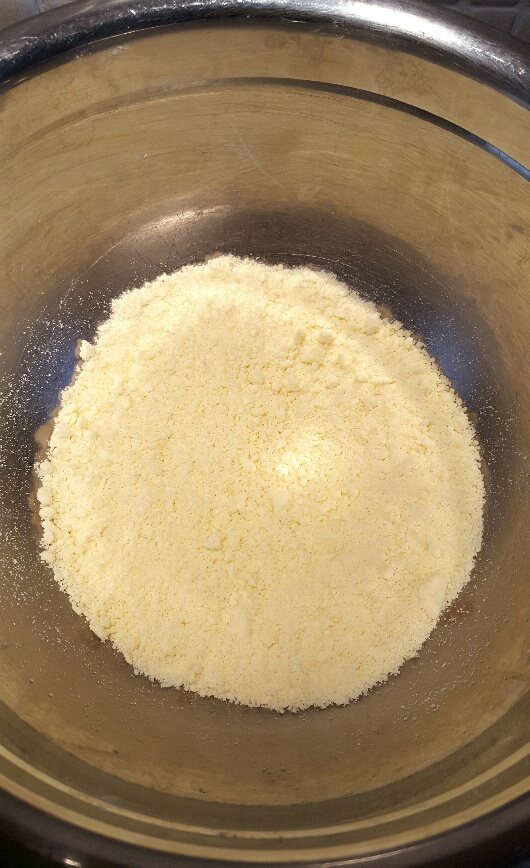
Measure the dry ingredients into a large mixing bowl and give it a good stir so that they’re all fully mixed.

Measure the wet ingredients into a jug or bowl.

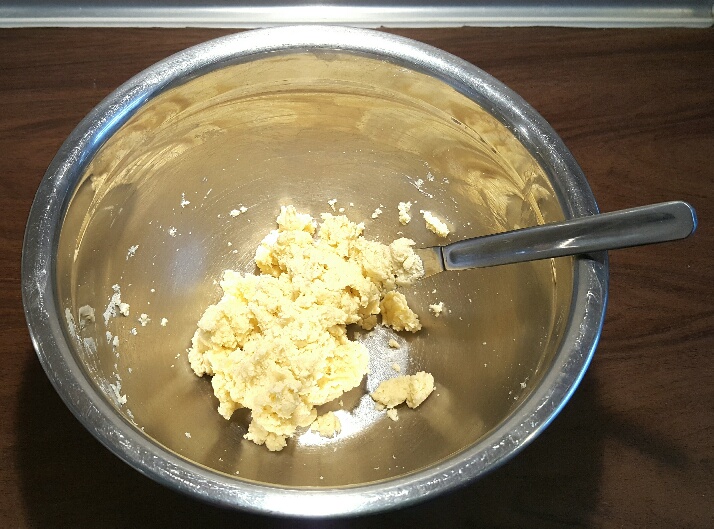
Toss the rhubarb in the dry ingredients and then add the wet mixture and stir really well.

Pour into your cake tin and bake for 35 to 40 mins or until a skewer pushed into the centre of the cake comes out clean.

Leave to cool and then serve.

Rhubarb and Ginger Cake by The Fat Foodie

Rhubarb and Ginger Cake by The Fat Foodie

Digiprove sealCopyright protected by Digiprove © 2017

Fruit Custard Tarts (makes 4)

Fruit Custard Tarts by The Fat Foodie

Now that we’re starting to see a bit more sun on a daily basis thanks to the arrival of spring I’m finding myself more inclined to make desserts that incorporate lighter flavours, such as these fruit custard tarts. When I started eating dairy-free one of my best revelations to come from the vegan community was finding out that Bird’s Custard Powder doesn’t contain dairy. I found this really surprising, but I suppose it’s just because you expect such a sweet vanilla-based substance to be already creamy even before you add anything to it. Regardless, I’m grateful!

It feels a bit cheeky to be posting the recipe for these fruit custard tarts because they’re so easy to make, especially when I haven’t made my own custard, but they are really delicious so I figured I’d share it anyway. The pastry is very light and a bit crumbly, but I think that works very well with the sweet custard and berries.

It makes life so much easier if you bake the pastry in tart tins which have a removable base, but it’s not absolutely essential and you can just use a piece of greaseproof paper in the base to help take the pastry cases out of the tins instead. Also, don’t try to take the pastry cases out of the tins until they’re completely cold otherwise they’re more likely to break.

You can use any fruit you like in these tarts. I’d bought some raspberries and blueberries that were reduced to a ridiculously cheap price and that’s what I used, but you could make them more exotic by using coconut oil instead of butter for the pastry tarts and topping them with chunks of fresh pineapple. Whatever you choose to top them with, these fruit custard tarts are light, creamy and filled with flavour, perfect for dessert on a warm summer’s evening (or an optimistic Scottish spring night).

Ingredients for the tart cases:

70g gluten-free plain flour (I use Dove’s Farm G/F flour because it’s made with low FODMAP ingredients whereas many other gluten-free flours are made with high FODMAP options.)

30g ground almonds

1 tsp xanthan gum

20g caster sugar

3 tbsps rice milk

40g butter (or dairy-free version)

1 tsp vanilla extract

Ingredients for the custard filling:

80g Bird’s Custard Powder

40g sugar

1 pint (580ml) rice milk

Method:

Make the custard in accordance with the instructions on the pack and set it aside to cool.

To make the pastry for the tarts, put everything except the milk into a mixing bowl and rub the butter into the dry ingredients with your fingers until it looks like fine sand.

Preparing the Dough for the Fruit Custard Tarts

Add the milk a little at a time, stirring all the while, until it forms a dough. (You might not need to use all of the milk. It can depend on the individual batch of flour you’re using.)

Preparing the Dough for the Fruit Custard Tarts

Set your tart tins out on a large baking tray and cut out two little squares of greaseproof paper for each tart that are big enough to line the base of your tart tins. (See the photo below if necessary.)

Preheat your oven to 200C/180C Fan/400F/Gas mark 6.

Put a piece of greaseproof paper in the bottom of each tart tin. Divide your dough into four and place a small lump of dough in each tart tin and mould to fit the tart tin.

Put another piece of greaseproof paper on top of the pastry and put baking beans on top.

Putting the Dough in the Tart Tins

Bake in the oven for 15 mins and then remove the baking beans and bake for another 10 mins (or until the pastry cases are golden brown). Leave the tarts to cool on a cooling rack.

Baked Tart Cases

When the tarts and custard are cold, fill each tart case with custard and top with fresh fruit. Dust with icing sugar just before serving.

Freshly Filled Fruit Custard Tarts by The Fat Foodie

Freshly Filled Fruit Custard Tarts by The Fat Foodie

Freshly Filled Fruit Custard Tarts by The Fat Foodie

Digiprove sealCopyright protected by Digiprove © 2017

Gluten-Free Carrot and Pecan Cake (serves 6-8)

Gluten-Free Carrot and Pecan Cake made by The Fat Foodie

Gluten-Free Carrot and Pecan Cake made by The Fat Foodie

I recently got a copy of The Complete Low-FODMAP Diet book from the library and it has a great recipe section at the back. I’m definitely going to buy a copy of my own though because it’s an invaluable resource for following the low FODMAP diet, as is the cookbook. As I was reading, one of the recipes that caught my eye was one for a gluten-free carrot and pecan cake.

Now let me tell you, I love cake, but I hate gluten-free cakes that have that horrid granular texture and whip all of the moisture out of your mouth whilst you try to chew them. Nope. Just nope. However, I’m very pleased to tell you, friends, that this cake is not like that. It’s moist, moreish and massively tasty!

The official recipe in the book calls for a blend of cornflour, rice and tapioca flours, but who has time for that? I just used a Doves Farm Gluten-Free Plain White Flour blend (which I’m going to start buying in bulk) and it worked just fine. Dove’s Farm G/F flour is also a good option because it’s made with low FODMAP ingredients whereas many other gluten-free flours are made with high FODMAP ingredients. The recipe also just states that you’re to use “2 small carrots”, but I hate that sort of instruction, particularly when it comes to making things like cakes when the quantities you use can make a massive difference to the overall result of the cake. Instead, I weighed my carrots and ascertained that 250g of carrots was the optimum carrot quantity needed. You’re welcome.  😉

I must admit, I tweaked the recipe that was in the book, so this is my version of the one you’ll find in The Complete Low-FODMAP Diet book. However, I’ll justify this ‘tweakage’ by stating that I think the different flours used called for a bit more rice milk and a bit less egg. And some nutmeg because all carrot cakes should have a bit of fresh nutmeg grated into them. And a coconut milk frosting too because all good cakes deserve to be draped in yet more sugar, don’t you think? What can I say, I’m a rebel.

This makes quite a large cake, so although the book recommended baking it in a single cake tin I actually baked mine in two smaller sandwich tins. My intention was to sandwich the two cakes between a dairy-free coconut icing, but the icing let me down because it wasn’t thick enough to join the cakes together. As a result, I just drizzled the coconut frosting over the carrot and pecan cake as you would with cream and it was delicious none the less.

If you fancy a slice of a good carrot and pecan cake, regardless of whether you’re gluten-free or not, I’d really recommend using this recipe. It makes a wonderfully delicate, but moist cake that’s speckled with sweet little carrot pieces and soft, yielding, tasty fragments of pecan nut. It’s definitely one of the best gluten-free carrot and pecan cakes I’ve ever had.

Gluten-Free Carrot and Pecan Cake made by The Fat Foodie

Gluten-Free Carrot and Pecan Cake made by The Fat Foodie

Ingredients:

250g grated carrots

270g gluten-free flour (I use Dove’s Farm G/F flour because it’s made with low FODMAP ingredients whereas many other gluten-free flours are made with high FODMAP options.)

220g sugar

100g pecans

1 tsp bicarbonate of soda

2 tsps of baking powder

1 tsp xanthan gum

1 tsp vanilla extract

2 tsps ground cinnamon

1/2 tsp freshly grated nutmeg

130ml rice milk

2 large eggs

125ml vegetable oil

For the frosting:

1 tsp lemon juice

The coconut cream from a 400ml can of coconut milk (the solid fat that sits at the top) – Only use the solid cream, discard the rest of the coconut milk

350g icing sugar

Method:

Preheat your oven to 170C/150C Fan/325F/Gas mark 3.

Prepare a pair of cake tins by lining them with greaseproof paper.

Put all of your wet ingredients into a large mixing bowl and whisk together.

Add all of the other ingredients (apart from the frosting ingredients) and whisk together until it’s all fully combined.

Pour into the two cake tins making sure an equal amount of cake mix is in each tin.

Bake for around 35-40 minutes or until a skewer pushed into the middle comes out clean.

In the meantime, make your frosting by putting all of the frosting ingredients into a jug or bowl and whisking together. Add more lemon juice if it needs loosening up or more icing sugar if it’s too liquid.

Once baked, remove from the oven and let them cool.

Once they’re cold, serve with a drizzle of coconut frosting.

Gluten-Free Carrot and Pecan Cake made by The Fat Foodie

Gluten-Free Carrot and Pecan Cake made by The Fat Foodie

Digiprove sealCopyright protected by Digiprove © 2017

Sweet Potato Brownies (makes 8)

Sweet Potato Brownies by The Fat Foodie

Sweet Potato Brownies by The Fat Foodie

My friend Jen, is a doula (who is, in her words, a person who “provides physical, emotional and informational support to families helping them to reduce fear, pain and uncertainty during their birth experience“). Jen runs her own doula business, Your Birth Scotland, and she recently asked me if I’d develop a few low FODMAP recipes that were quick to cook and healthy for women who are either pregnant or have recently given birth and I accepted her challenge.

These sweet potato brownies were created because I was looking to create a recipe for a snack that would contain a decent amount of nutrients and fibre for mums who had recently given birth. Now I’m not going to lie, they didn’t turn out quite as healthy as I’d envisioned because they have quite a bit of sugar in them. However, on the plus side, they ended up being literally the best brownies I’ve ever eaten in my entire life.

Sweet potatoes are a really healthy vegetable and, unlike normal white potatoes, they count towards our five-a-day quota because they have lower starch levels than other carbohydrates. They also contain four main micronutrients: vitamin C, which keeps our immune system healthy and aids iron absorption within the body (very important for both pregnant women and women who have recently given birth); thiamin, an essential B-vitamin which supports the nervous system and ensures good heart health; potassium, which normalises blood pressure and along with thiamin takes care of the nervous system; and manganese, which ensures healthy bones and general cell health. I think it’s fairly clear that they’re nutritional powerhouses within the vegetable world!

These sweet potato brownies also contain other ingredients which are high in nutritional density, such as walnuts which are an excellent source of antioxidants as well as omega-3 fat, an anti-inflammatory fatty acid that the body and mind needs to function properly. The brownies also contain chia seeds, a high protein seed which along with providing the body with fibre, also contains omega-3s and a whole host of micronutrients, such as calcium and magnesium, all of which support overall health. The brownies have also got coconut oil in them, a source of healthy fat which helps to remove bad fat from the blood and lower cholesterol and therefore, promotes heart health and lowers the risk of heart disease.

Lastly, the brownies have a healthy whack of antioxidant-rich cocoa and dark chocolate in them, which contain minerals like potassium, iron, zinc and selenium, and has been found in a Finnish study to lower stress in pregnant women while also producing babies who smiled more in comparison with babies born to non-chocolate eating mothers. Dark chocolate also contains phenylethylamine, a chemical which encourages the release of feel-good endorphins.

After I baked the brownies and let them cool slightly I started to take my photographs and once that was done I figured it was time to have a taste. And wow! Without overly blowing my own trumpet (but I will because they were outstanding) I was blown away by how good they were. I’m not a fan of most brownies because I hate that undercooked texture of the cake mix that so many of them have, but these didn’t have that. They retained the fudgy element of a brownie that you’d expect, but weren’t thick and claggy. Quite surprising considering they contain sweet potato!

Another bonus to these sweet potato brownies is that they are vegan, dairy-free and gluten-free and you cannot tell at all. The cake base is light, but fudgy, and is speckled with little chunks of walnut and their overall chocolate quota is further enhanced by the addition of dark chocolate chips lying atop the brownies. Sigh… They’re just out of this world!

I’d recently treated myself to a little pack of mini loaf baking boxes and they were perfect for baking the brownies in because they helped them to retain their shape and worked perfectly as individual bakes (as opposed to having to cut them out of a tray). This also meant that they were ideal for slotting into my packed lunch box to take to work.

This sweet potato brownie recipe has most definitely become my new go-to brownie recipe and although they may not be the healthiest pregnancy or postpartum snack, doesn’t every new Mum deserve a little treat once in a while for all her hard work? I certainly know that Jen the doula would think so.

Ingredients:

420g peeled raw sweet potato cut into small cubes (or around 250g cooked weight)

140g sugar

100g gluten-free self-raising flour (I use Dove’s Farm G/F flour because it’s made with low FODMAP ingredients whereas many other gluten-free flours are made with high FODMAP options.)

50g cocoa powder

100g walnuts (keep 16 walnut halves aside to decorate the brownies)

100g dark chocolate chips

2 chia eggs made from 2 tbsps. of chia seeds mixed with 6 tbsps. of cold water and left for half an hour before using (or 2 eggs, if non-vegan)

1 tsp. baking powder

100g melted coconut oil (or butter)

1 tsp vanilla extract

7 tbsps. of rice milk (or standard milk, if non-vegan)

Method:

Make the chia seed eggs, if using.

Preheat your oven to 190C/170C Fan/375F/Gas mark 5.

Lay out your mini loaf baking boxes on a baking tray.

Peel your sweet potato and cut into small cubes (about 2cm square). Place in a bowl and cook on high in the microwave (stirring a couple of times) until the sweet potato is soft.

Keeping the decorative walnut halves and dark chocolate chips aside, put all of the ingredients together in a large mixing bowl and whisk together.

Once the mixture is fully combined, spoon into the mini loaf baking boxes (making sure there’s an equal amount in each) and then top with the walnut halves and sprinkle with dark chocolate chips.

Bake in the oven for 30 mins (or a little less if you prefer your brownies to be gooier).

Remove from the oven and leave to cool slightly before eating.

Sweet Potato Brownies by The Fat Foodie

Sweet Potato Brownies by The Fat Foodie

Sweet Potato Brownies by The Fat Foodie

Sweet Potato Brownies by The Fat Foodie

Digiprove sealCopyright protected by Digiprove © 2017