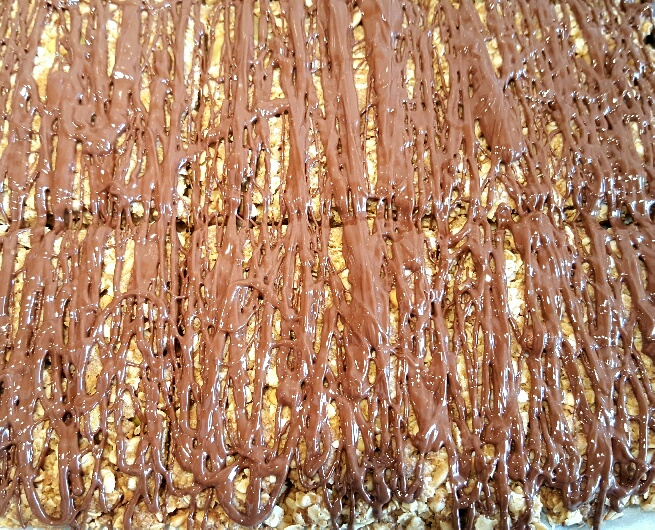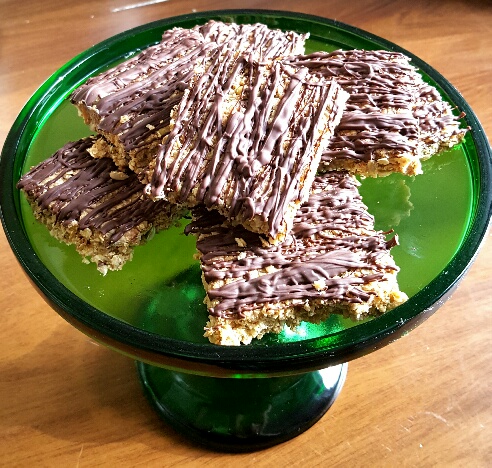
Gluten-Free Carrot and Pecan Cake made by The Fat Foodie
I recently got a copy of The Complete Low-FODMAP Diet book from the library and it has a great recipe section at the back. I’m definitely going to buy a copy of my own though because it’s an invaluable resource for following the low FODMAP diet, as is the cookbook
. As I was reading, one of the recipes that caught my eye was one for a gluten-free carrot and pecan cake.
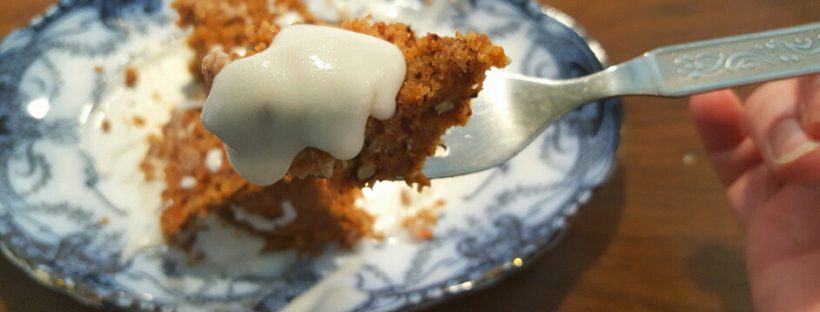
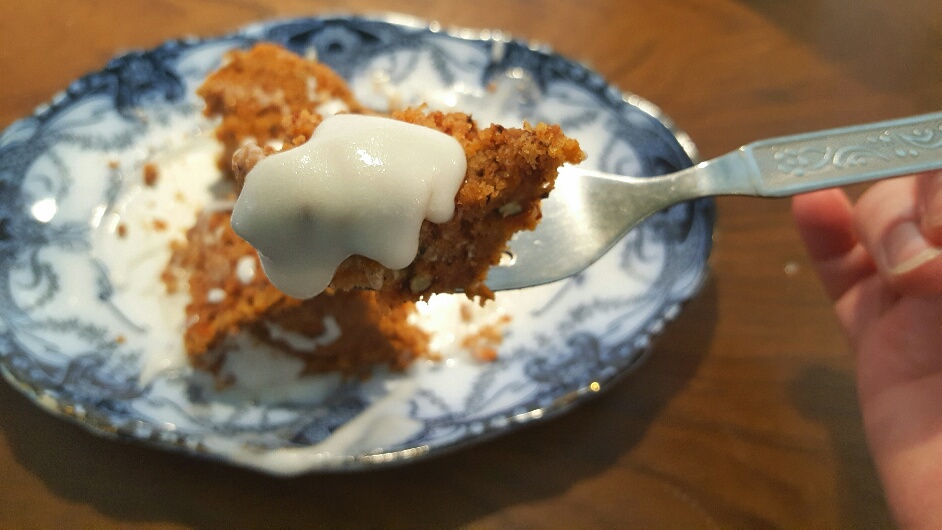
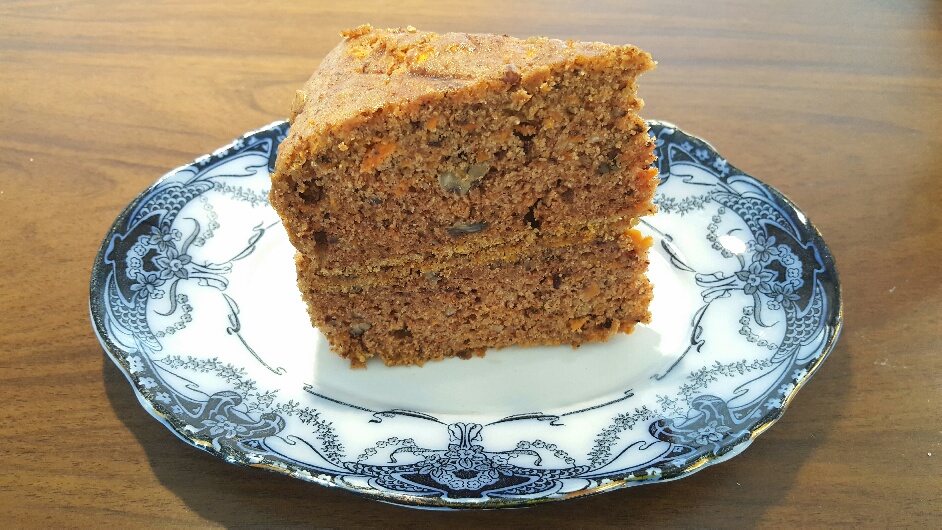
Now let me tell you, I love cake, but I hate gluten-free cakes that have that horrid granular texture and whip all of the moisture out of your mouth whilst you try to chew them. Nope. Just nope. However, I’m very pleased to tell you, friends, that this cake is not like that. It’s moist, moreish and massively tasty!
The official recipe in the book calls for a blend of cornflour, rice and tapioca flours, but who has time for that? I just used a Doves Farm Gluten-Free Plain White Flour
blend (which I’m going to start buying in bulk) and it worked just fine. Dove’s Farm G/F flour
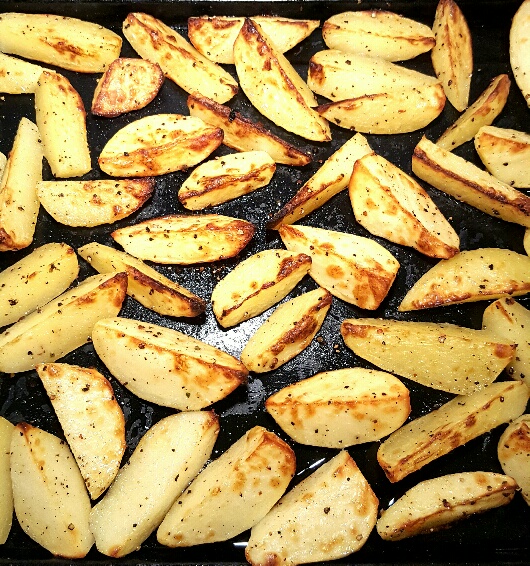
is also a good option because it’s made with low FODMAP ingredients whereas many other gluten-free flours are made with high FODMAP ingredients. The recipe also just states that you’re to use “2 small carrots”, but I hate that sort of instruction, particularly when it comes to making things like cakes when the quantities you use can make a massive difference to the overall result of the cake. Instead, I weighed my carrots and ascertained that 250g of carrots was the optimum carrot quantity needed. You’re welcome. 😉
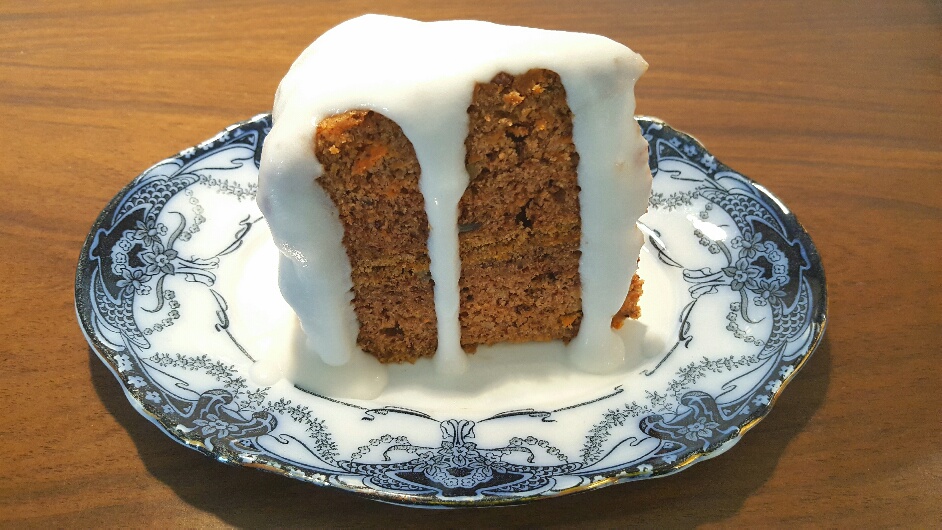
I must admit, I tweaked the recipe that was in the book, so this is my version of the one you’ll find in The Complete Low-FODMAP Diet book. However, I’ll justify this ‘tweakage’ by stating that I think the different flours used called for a bit more rice milk and a bit less egg. And some nutmeg because all carrot cakes should have a bit of fresh nutmeg grated into them. And a coconut milk frosting too because all good cakes deserve to be draped in yet more sugar, don’t you think? What can I say, I’m a rebel.
This makes quite a large cake, so although the book recommended baking it in a single cake tin I actually baked mine in two smaller sandwich tins. My intention was to sandwich the two cakes between a dairy-free coconut icing, but the icing let me down because it wasn’t thick enough to join the cakes together. As a result, I just drizzled the coconut frosting over the carrot and pecan cake as you would with cream and it was delicious none the less.
If you fancy a slice of a good carrot and pecan cake, regardless of whether you’re gluten-free or not, I’d really recommend using this recipe. It makes a wonderfully delicate, but moist cake that’s speckled with sweet little carrot pieces and soft, yielding, tasty fragments of pecan nut. It’s definitely one of the best gluten-free carrot and pecan cakes I’ve ever had.
Gluten-Free Carrot and Pecan Cake made by The Fat Foodie
Ingredients:
250g grated carrots
270g gluten-free flour (I use Dove’s Farm G/F flour because it’s made with low FODMAP ingredients whereas many other gluten-free flours are made with high FODMAP options.)
220g sugar
100g pecans
1 tsp bicarbonate of soda
2 tsps of baking powder
1 tsp xanthan gum
1 tsp vanilla extract
2 tsps ground cinnamon
1/2 tsp freshly grated nutmeg
130ml rice milk
2 large eggs
125ml vegetable oil
For the frosting:
1 tsp lemon juice
The coconut cream from a 400ml can of coconut milk (the solid fat that sits at the top) – Only use the solid cream, discard the rest of the coconut milk
350g icing sugar
Method:
Preheat your oven to 170C/150C Fan/325F/Gas mark 3.
Prepare a pair of cake tins by lining them with greaseproof paper.
Put all of your wet ingredients into a large mixing bowl and whisk together.
Add all of the other ingredients (apart from the frosting ingredients) and whisk together until it’s all fully combined.
Pour into the two cake tins making sure an equal amount of cake mix is in each tin.
Bake for around 35-40 minutes or until a skewer pushed into the middle comes out clean.
In the meantime, make your frosting by putting all of the frosting ingredients into a jug or bowl and whisking together. Add more lemon juice if it needs loosening up or more icing sugar if it’s too liquid.
Once baked, remove from the oven and let them cool.
Once they’re cold, serve with a drizzle of coconut frosting.
Gluten-Free Carrot and Pecan Cake made by The Fat Foodie
 Copyright protected by Digiprove © 2017