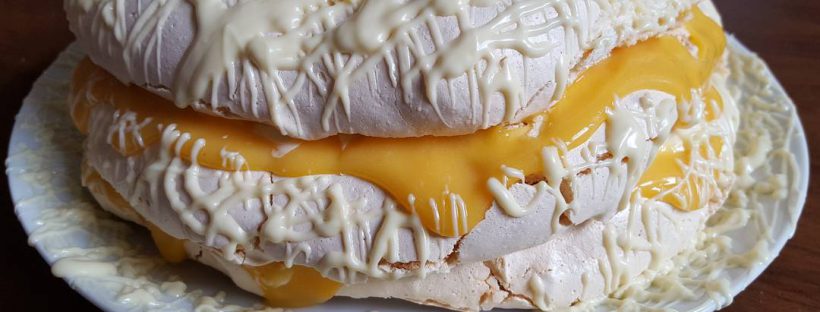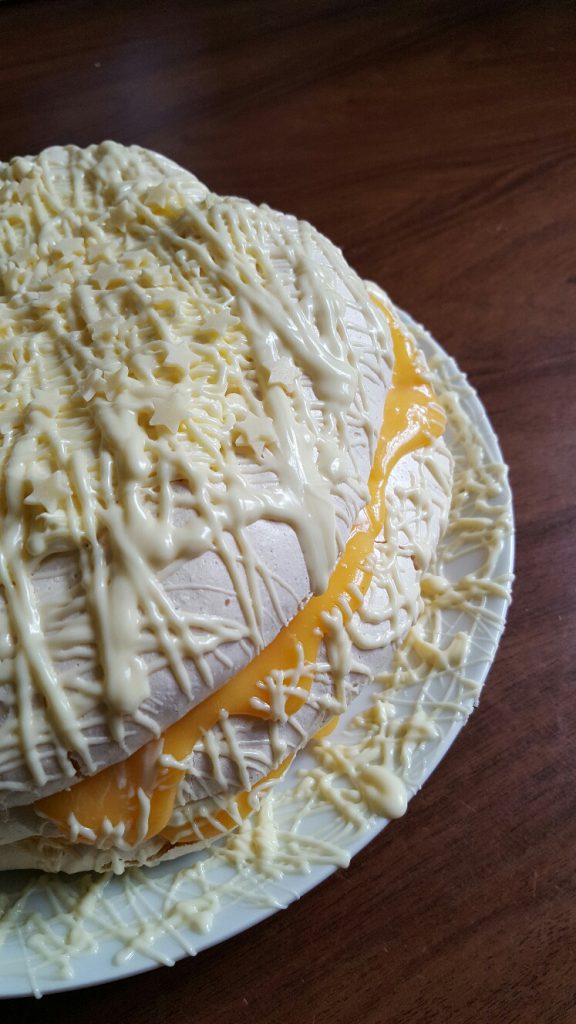
Orange Cake by The Fat Foodie
As much as I love a good fudgy, chocolate cake sometimes a lighter, fruitier cake, such as this gluten-free orange cake, can be much more satisfying because it’s less heavy overall. A while ago I picked up a reduced bottle of Valencian orange extract and I knew I wouldn’t struggle to find a use for it. This turned out to be an accurate assessment because I used it when I made my French Fancies and because there was plenty of orange French fancy buttercream left over to use up I figured I’d pop it in the freezer to put it to use again. It turned out quite handy for the orange cake.
This orange cake is just a standard victoria sponge recipe that has a teaspoon of orange extract added to it, so it’s really simple to whip up. In fact, because I only made a small cake I just mixed it all up in a jug with an electric whisk and then poured it into my prepared bundt tin. It’s that easy.
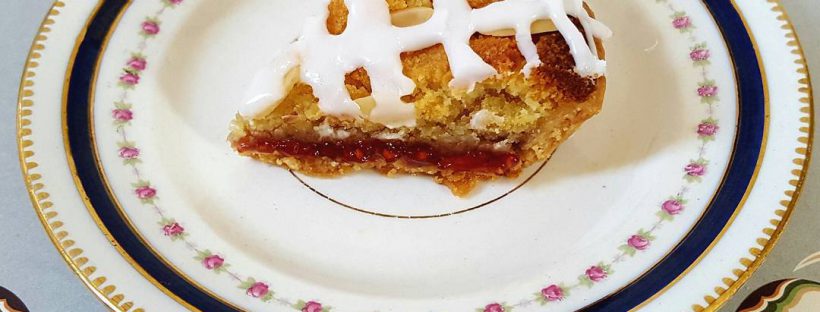
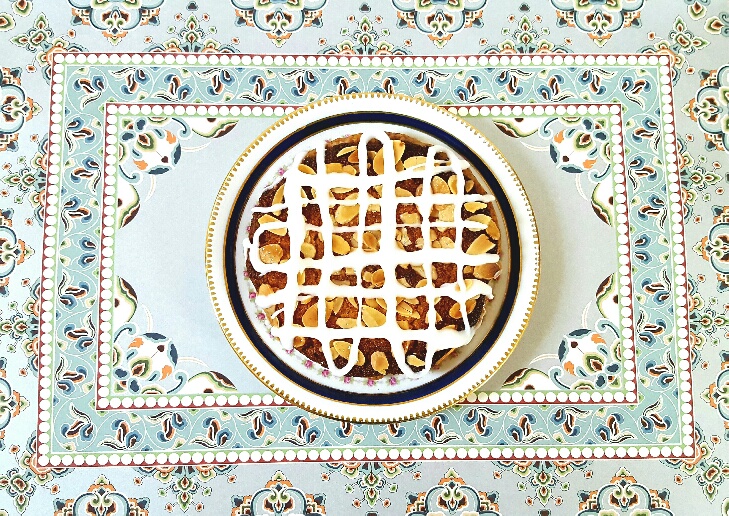
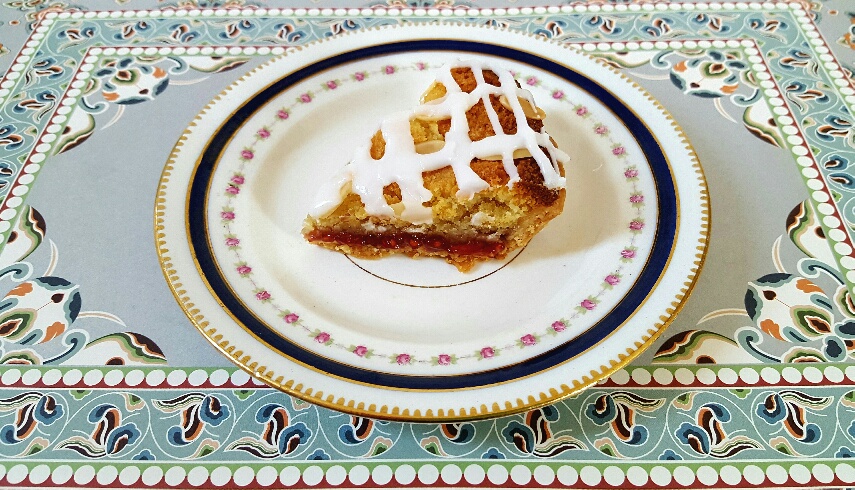
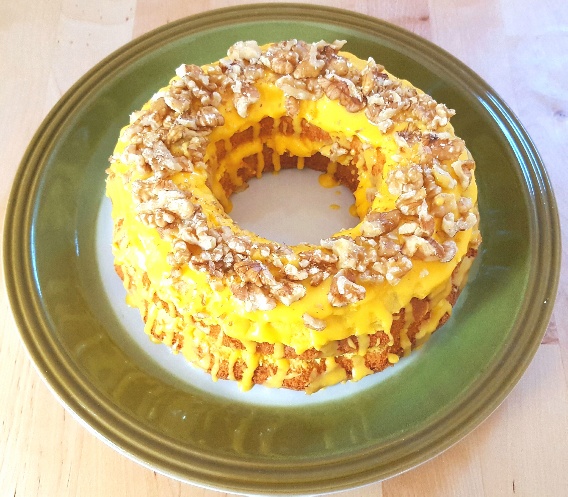
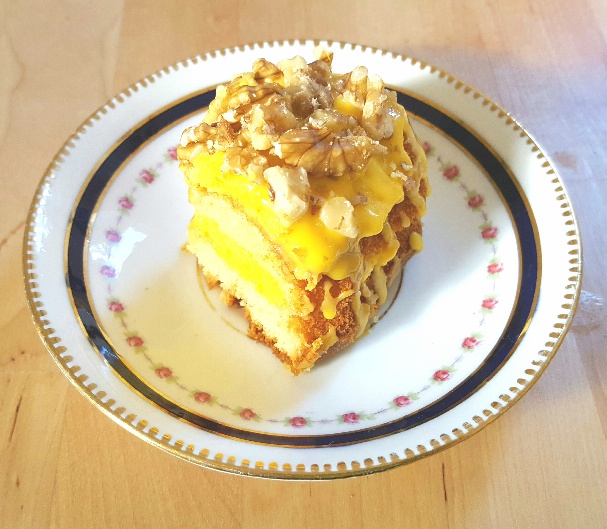
This orange cake turns out light, soft and zesty, with a nice ‘zing’ of orange which hits the nose and tastebuds from the sponge itself as well as the buttercream. I just decorated my orange cake with some orange icing, a bit of orange zest and some walnuts, but you could easily decorate it with lime zest or coconut. And if you fancied a chocolate orange cake all it’d take is the addition of 2 tablespoons of cocoa powder into your cake mixture and a little less flour.
I’ve spoken to a lot of people recently who are intimidated by baking because they think it’s really complex and tricky, but baking’s not hard as long as you follow the recipe. And once you’ve mastered the basics, such as plain victoria sponge, you can adapt the flavours that you use in your cakes to suit yourself. When it comes to baking, the world’s your oyster! Although I’d avoid that as a potential cake flavouring. Eww! That’d be gross.
Ingredients:
For the cake:
100g butter (or non-dairy version)
100g of sugar
2 eggs
4 tbsps of rice milk
100g gluten-free self-raising flour (I use Dove’s Farm G/F flour because it’s made with low FODMAP ingredients whereas many other gluten-free flours are made with high FODMAP options.)
1 tsp xanthan gum
1 tsp orange extract or flavouring
For the filling:
75g of soft butter (or non-dairy version)
50g icing sugar
½ tsp of orange extract or flavouring
1 tsp. of water
For the decoration:
50g icing sugar
1-2 tsps. of water
Orange food colouring
50g chopped walnuts
Method:
To make the cake:
Preheat your oven to 180C/160C Fan/350F/Gas mark 4.
Grease and flour a Bundt tin.
Measure your butter and sugar into a mixing bowl or jug and mix.
Add the 2 eggs, rice milk and 1 tsp. of orange extract and mix.
Add the flour and xanthan gum and mix well. (Gluten-free flour can be very dry, so add more rice milk if you feel the mix is too thick.)
Pour into your Bundt tin and bake for approximately 25-30 mins. (You’ll know the cake is fully baked when a skewer poked into the middle of the cake comes out completely clean.)
To make the buttercream filling:
Whisk the butter, icing sugar, orange extract and water together until it forms a light, fluffy buttercream. (If you need to add a dash more water to loosen the buttercream more, do so).
To make the icing:
Mix the icing sugar and a dash of orange food colouring with a little bit of water, adding more water as required until it is just thin enough to fall off the spoon.
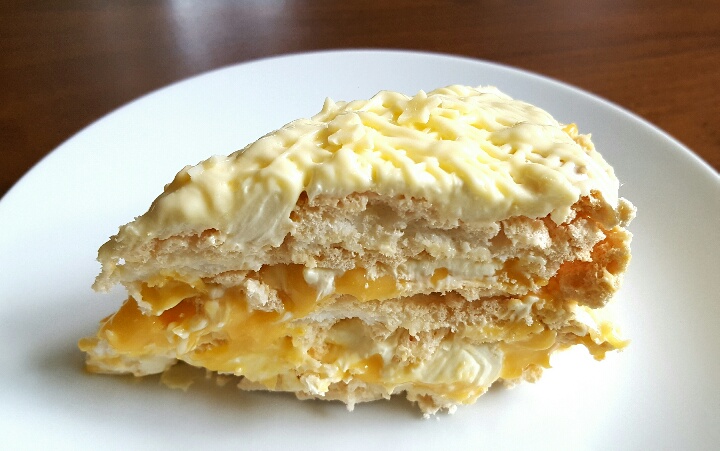
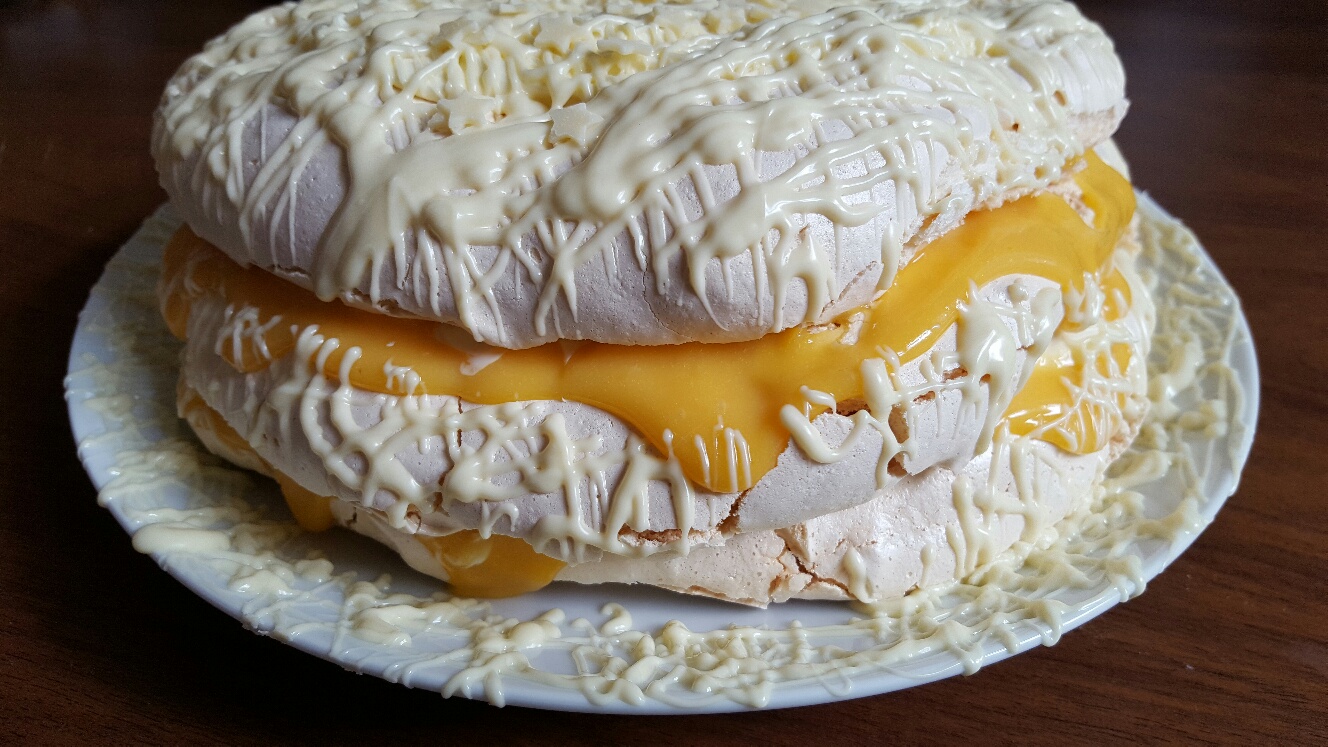
To build the cake:
Once the cake is cool, slice the cake in half horizontally, spread the bottom of the cake with buttercream and put the top back on. If you’ve any buttercream left, feel free to spread it on top of the cake.
Drizzle the top of the cake with the orange icing and then top with walnuts. Serve.
Orange Cake by The Fat Foodie
 Copyright protected by Digiprove © 2016