Vegan Chocolate Avocado Cake by The Fat Foodie
My partner recently tasked me with producing a vegan chocolate avocado cake just because it looked intriguing and never being someone who shirks from a challenge, I decided to give it a go. This vegan cake mix uses avocados (and a small amount of coconut oil) in place of butter. As someone who worships at the altar of butter, I was pretty sceptical as to whether this chocolate avocado cake would turn out to be remotely tasty, but by God, I was wrong!
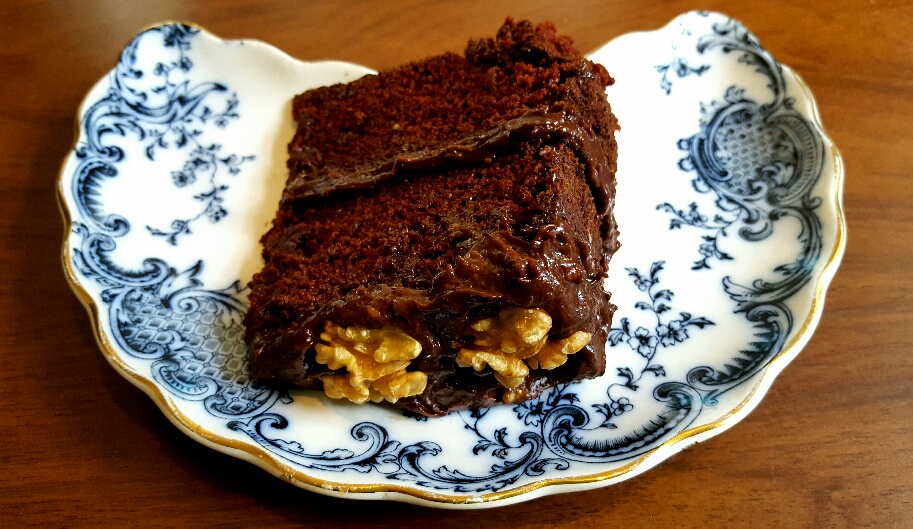
Without the addition of butter I was convinced that the vegan chocolate avocado cake would be dry and dense, but the chocolatey sponge cake emerged from the oven with a beautifully light and delicate crumb, while also being very moist and fudgy. The cake is sandwiched and covered in a very simple chocolate cream made from avocados, cocoa and icing sugar, and although I could taste the avocados in the frosting, in my opinion it only lent the cake a light, fresh flavour as opposed to making it taste as though it contained vegetables.
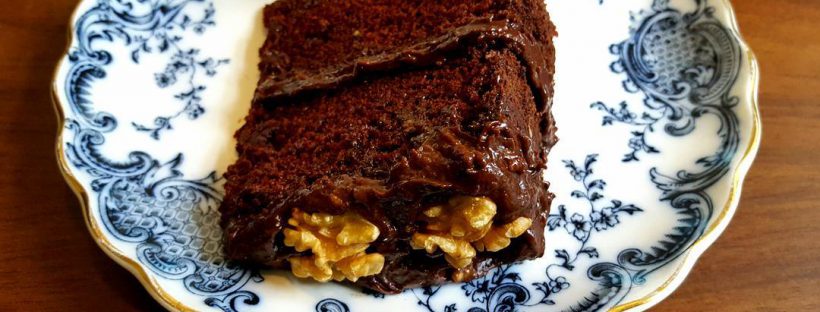
This vegan chocolate avocado cake kept in the fridge for a good four or five days (under cling film) and even by its final day in this world it had not lost any of its moist texture. Although the original recipe did not call for any decoration I’m pleased I included walnuts on the top of the cake because they added a nice crunch to the cake’s texture and a lovely nutty flavour which complemented the avocado icing.
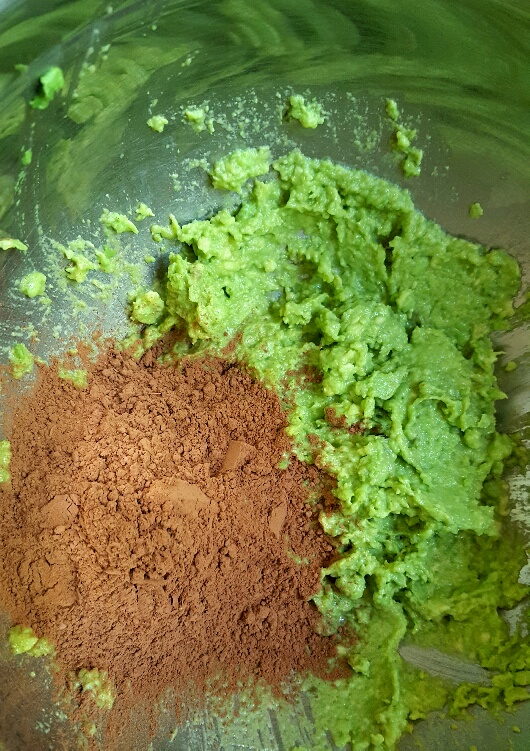
The Gorgeous Colour Palette of Mashed Avocado and Cocoa
If I could offer one tip when it comes to making this cake it’d be that you have to use really ripe avocados because they need to blend well with the other ingredients, for both the cake mix and the icing. One of my so-called ‘ready and ripe’ Marks and Spencer’s avocados was nowhere near ripe and I had to pick bits of hard lurid green fruit out of my cocoa icing which was pretty annoying. However, all in all, I’ll definitely make this incredibly flavoursome cake at some point again.
Ingredients:
For the cake:
3 cups of gluten-free flour (I use Dove’s Farm G/F flour because it’s made with low FODMAP ingredients whereas many other gluten-free flours are made with high FODMAP options.)
40g cocoa powder
2 tsps. baking powder
2 tsps. bicarbonate of soda
½ tsp of salt
¼ cup of melted coconut oil
60g ripe avocado (mashed)
2 cups of water
2 tbsps. white vinegar
2 tsps. vanilla extract
2 cups sugar
For the icing:
100g ripe avocado (mashed)
2 cups icing sugar
24g of cocoa powder
50g of walnut halves (to decorate)
Method:
To make the cake:
Preheat your oven to 180°C/160°C Fan/350°F/Gas mark 4.
Grease or line with greaseproof paper two 9 inch cake tins.
Put all of your cake ingredients (except the baking powder, bicarb, water and vinegar) in a large mixing bowl.
Add the baking powder, bicarb, water and vinegar and whisk until all of your ingredients are combined.
Pour the cake batter evenly into the two cake tins and put in the oven.
Bake for at least 30 mins or until a skewer poked into the middle of the cakes comes out clean.
Leave to cool.
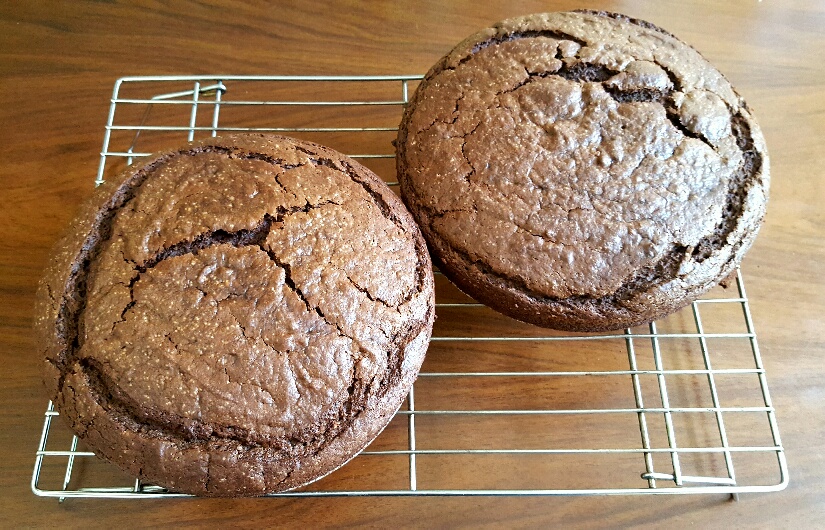
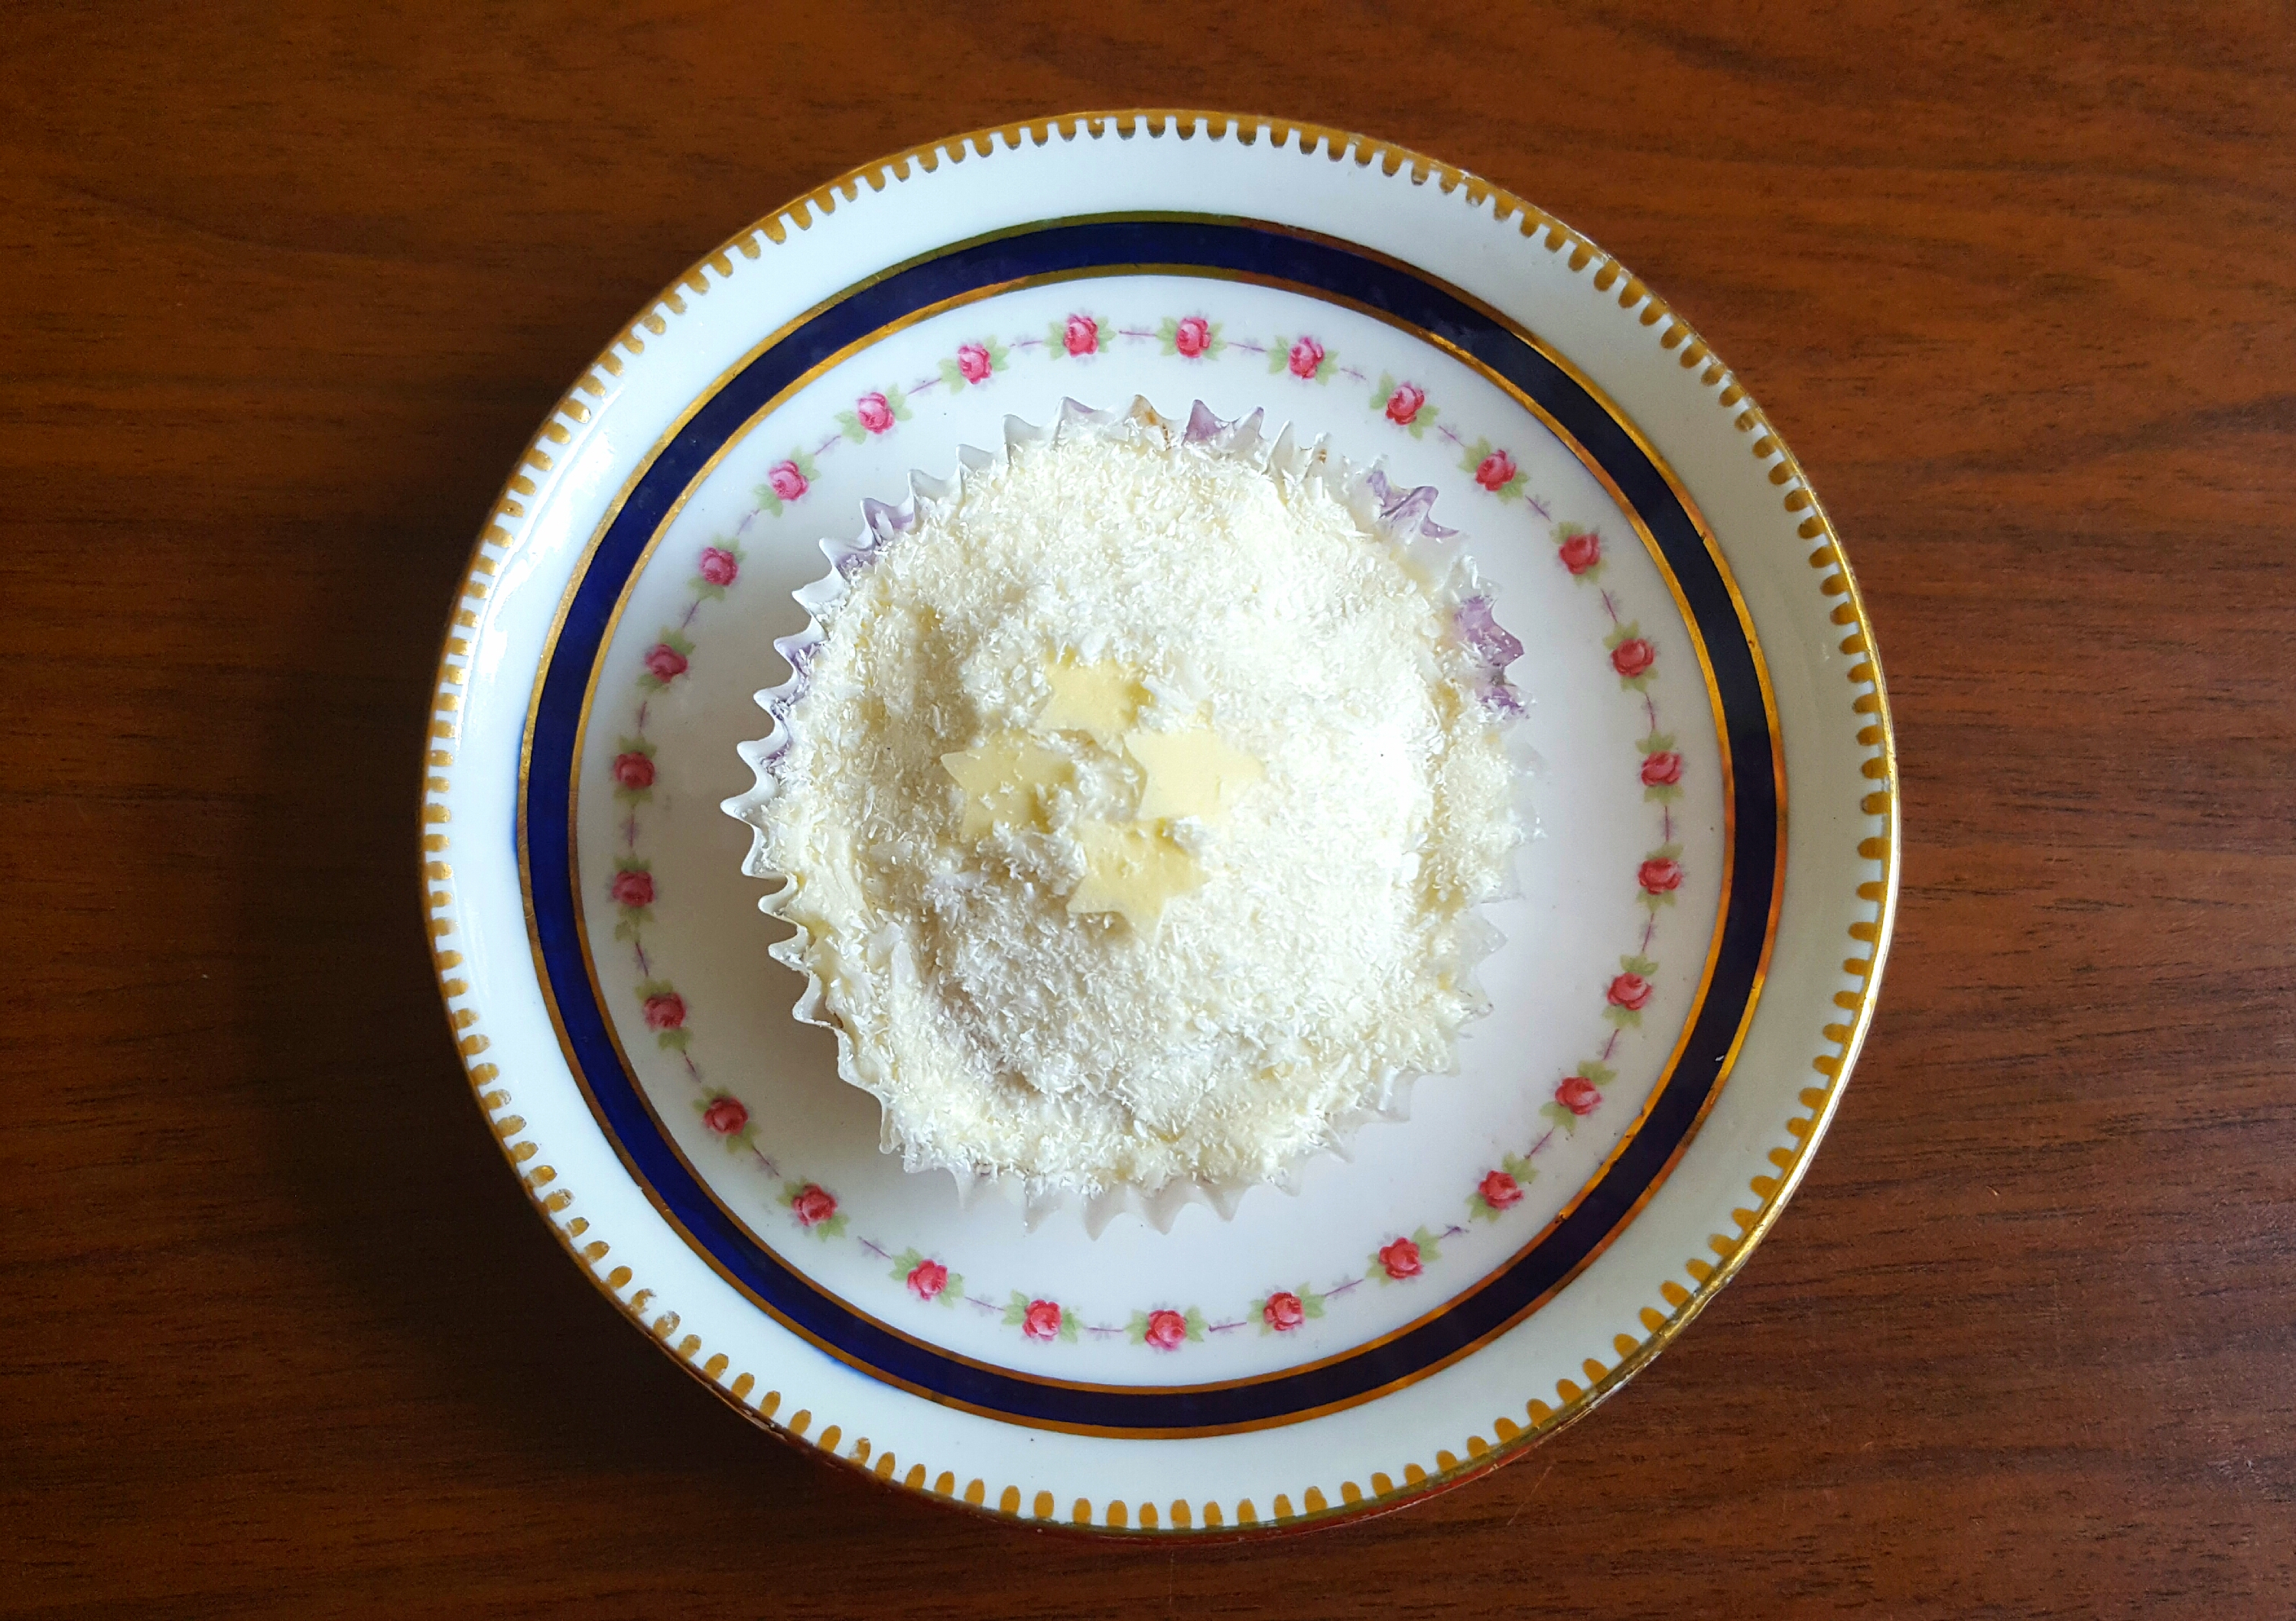
Freshly Baked Vegan Chocolate Avocado Cakes by The Fat Foodie
To make the icing:
Put your avocado, icing sugar and cocoa powder in a bowl and whisk together. (I added a little dash of water because I felt the icing was a little bit too thick.)
Once your cakes are cool, use some of your icing to sandwich your cakes together and then put the rest on the top of the cake and (if you have enough left over) ice the sides of the cake. (I just made my cake so it had a generous amount of icing on the top.)
Top with walnuts if you fancy and serve.
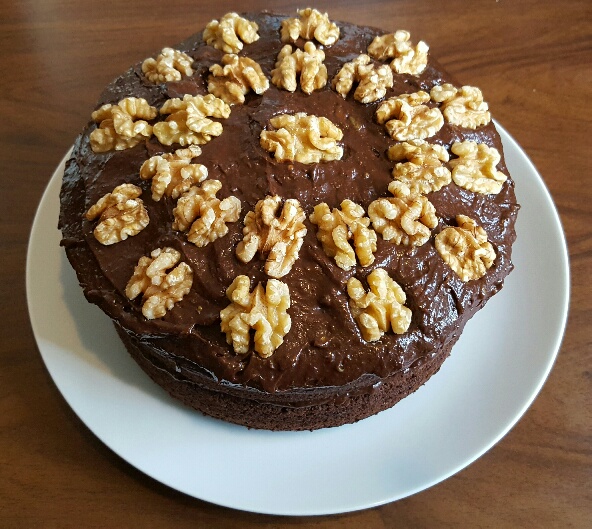
Vegan Chocolate Avocado Cake by The Fat Foodie
 Copyright protected by Digiprove © 2016