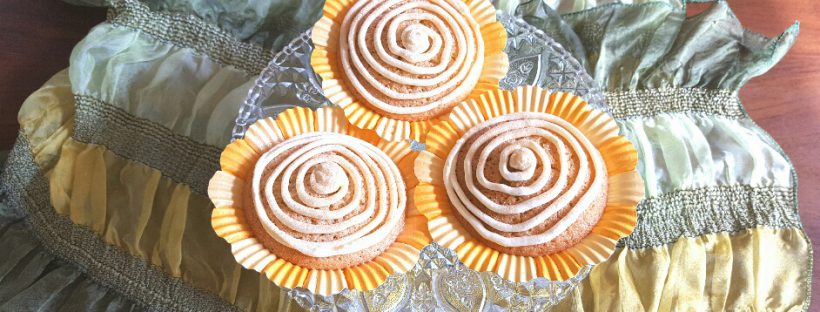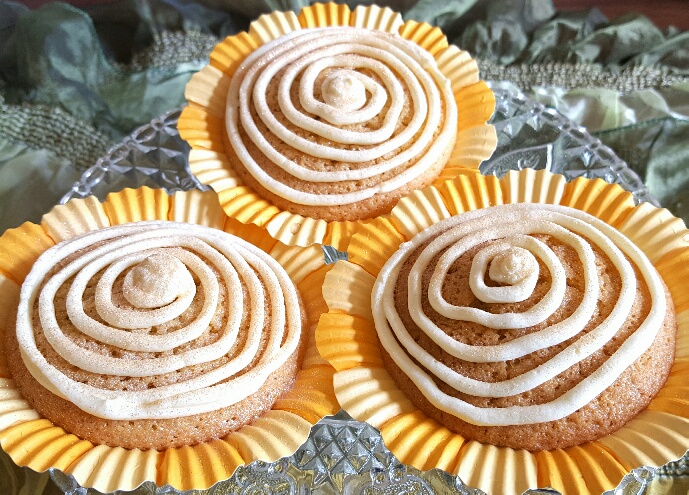
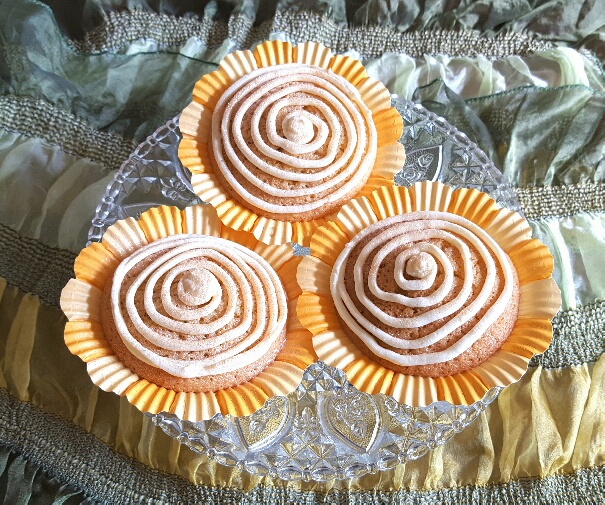
Citrus Cupcakes by The Fat Foodie
Sometimes I bake cakes purely because a pretty cupcake case has caught my eye that begs to be filled with something delicious. This was the case (excuse the pun) when I saw some beautiful, bright, sunshine-coloured cupcake cases in Flying Tiger the other day. (I tried to find a link to their website so you could buy them yourself, but they don’t have them listed on their site unfortunately.)
Ordinarily I’m a real chocolate cake fan, loving the deep, moist fudginess that is inherent within all decent chocolate cakes, but I recognise that sometimes there’s nothing nicer than a light fruit-flavoured cake and these cupcake cases were ideal for making gluten-free citrus cupcakes in.
As the days are getting sunnier and warmer it’s nice to move away from the heavy puddings and crumbles of winter and embrace lighter flavours, such as those found in citrus fruits. Although I made my citrus cupcakes flavoured with lemon and orange you could choose to flavour them with lime or even grapefruit if you had a mind to. All you’re looking for are the strong oils in the fruit’s zest to impart a citrus note into the cake’s sponge.
These citrus cupcakes are light, but moist (even though they’re made with gluten-free flour) and keep for a good few days in an airtight tin. Although if your family’s anything like mine it’s highly unlikely that these delicious bakes will last that long. I might need to make another batch…
Ingredients:
220g caster sugar
120g fine polenta (aka cornmeal)
50g gluten-free flour (I use
Dove’s Farm G/F flour
because it’s made with low FODMAP ingredients whereas many other gluten-free flours are made with high FODMAP options.)
90g ground almonds
60g dessicated coconut
A pinch of salt
The zest of 1 lemon and 1 orange
2 tsps baking powder
1/2 tsp of bicarbonate of soda
120g butter (or dairy-free version)
100g coconut oil (melted)
4 eggs
60ml rice milk
For the buttercream icing:
100g butter (or dairy-free version)
240g icing sugar
1 tbsp rice milk
Method:
Preheat your oven to 180C/160C Fan/350F/Gas mark 4.
Lay out your cupcake cases onto a flat baking tray.
Measure all of the wet ingredients into a mixing bowl.
Measure all of the dry ingredients into another bowl.
Add the dry ingredients into the wet ingredients and mix well.
Pour equal amounts of the cake mix into each of the cupcake cases, lay them on the baking trays and bake in the oven for around 25 mins. (They’re cooked if a skewer pushed into the middle of a couple of the cakes comes out entirely clean.)
Leave to cool on a cooling rack.
Make the buttercream icing by placing all of the buttercream ingredients into a jug and whisking until a smooth icing is produced.
Once the citrus cupcakes are cool, decorate them with the buttercream icing.
Citrus Cupcakes by The Fat Foodie
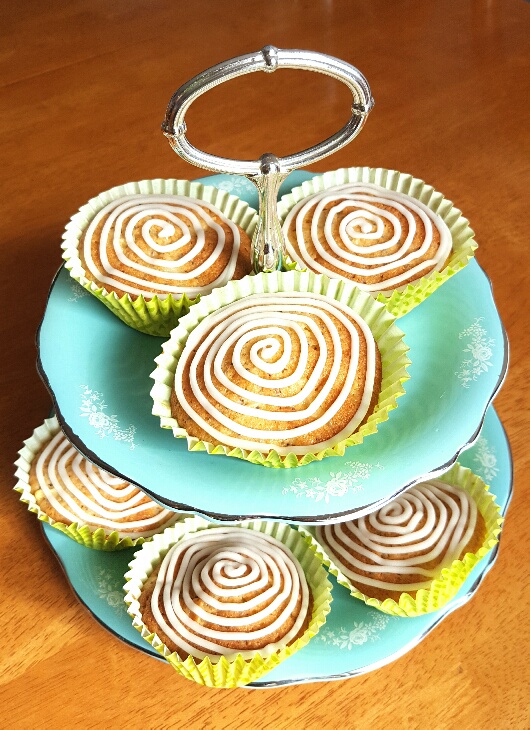
Citrus Cupcakes by The Fat Foodie
 Copyright protected by Digiprove © 2017