Strawberry Shortcakes by The Fat Foodie
I live in a small village called Cambusbarron which is in Stirling, Scotland. Every summer when the sun beats its rays down and encourages nature to bloom Cambusbarron is carpeted in tiny native wild Scottish strawberries, the majority of which grow no bigger than my pinkie nail, but are blessed with the perfect combination of sugary sweet and fruity tart flavours.
Last summer I took a walk up to the old quarry behind Cambusbarron and I was astonished to discover that these tiny wild strawberries completely covered the gravelled land on the approach to the water. I couldn’t put a foot down without stepping on them, so tightly and thickly were they spread across the ground.

Cambusbarron Quarry
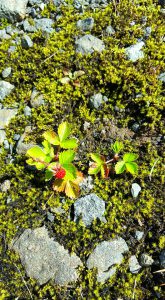
Tiny Wild Scottish Strawberries

My Finger Showing the Scale of the Wild Strawberries
This year we’ve cleared a lot of unnecessary trees and shrubs from our garden (well, my Dad has cleared them for me, to be honest!) and as a result wild strawberries have sprung up all over the garden. They’re beautiful plants, providing steady, long-lasting greenery that is dotted with bright crimson coloured tiny fruits. I certainly have no intention of getting rid of them, as I would with any other invasive plant life.
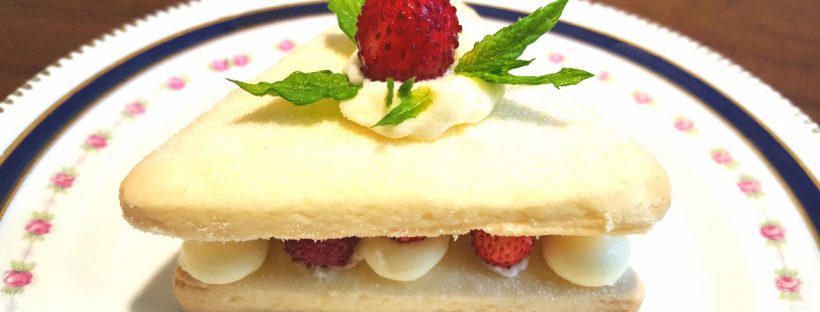
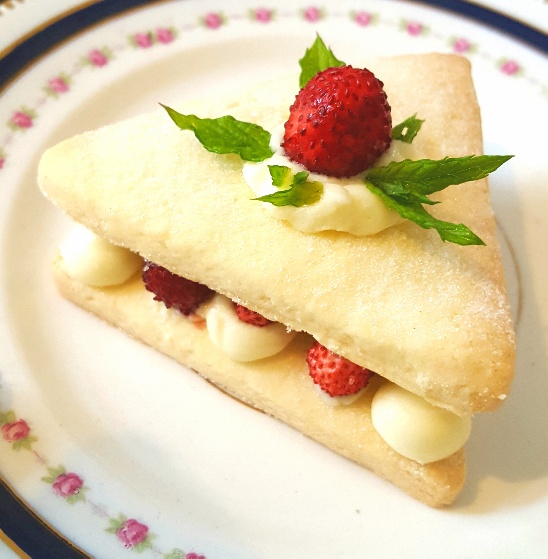
When I first started seeing them appearing in the garden I resolved that I would make something with them for the website and after giving it some thought I decided on strawberry shortcakes. The shortcakes are made of two pieces of crisp, buttery lemon shortbread biscuit that sandwich a rich smooth buttercream icing that is interspersed with the tiny wild strawberries from my garden and topped with a dot more buttercream and fresh baby mint leaves. You could just use slices of fresh strawberries though, if you’re not blessed with living in Cambusbarron.
I’m absolutely over the moon with this strawberry shortcake recipe and the shortbread it’s made from is most definitely now my favourite gluten-free biscuit recipe. The soft, smooth-textured cornflour makes the biscuits really crumbly while the butter adds a lovely crisp shortness to the overall crunch of them. You’d never in a million years believe they were gluten-free. As I optimistically said to my partner after I’d tried them for the first time, “Oh my God! They’re definitely going in the cookbook!”.
Ingredients for the shortbread biscuits:
100g cornflour
150g gluten-free flour (I use Dove’s Farm G/F flour because it’s made with low FODMAP ingredients whereas many other gluten-free flours are made with high FODMAP options.)
95g icing sugar
125g cold salted butter (cubed)
1 tsp lemon extract
2 tbsp cold water
Ingredients for the buttercream icing:
50g soft butter
110g icing sugar
2 tsps of rice milk
1 tsp lemon extract
For decorating:
Caster sugar
Fresh strawberries
Fresh mint leaves
Method:
Preheat your oven to 210C/190C Fan/400F/Gas mark 6.
Lay greaseproof paper out onto two large baking trays.
Weigh the cornflour, gluten-free flour, icing sugar, lemon extract and butter into a large mixing bowl.
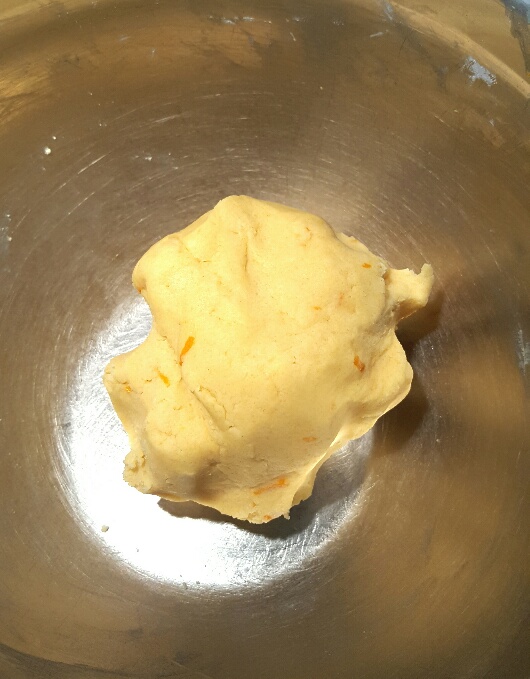
Rub the butter through all of the dry ingredients until it resembles fine sand. Add the water and mix until a smooth dough is formed.
Leave the dough to rest in the fridge for half an hour. (The cold temperature makes it easier to roll out.)
In the meantime make the buttercream by putting the icing ingredients into a jug and whisking together until light and airy. Place in a piping bag.
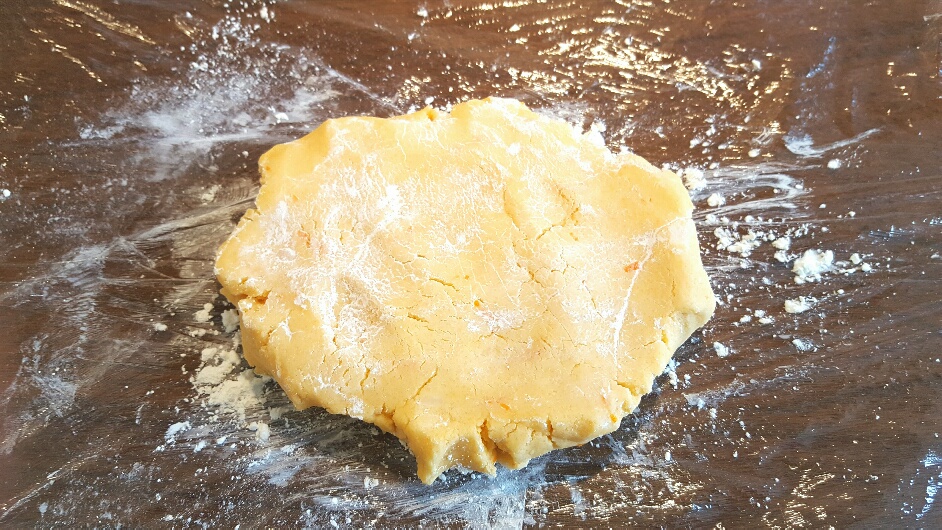
Once the shortcake dough is cold, use a rolling pin to roll it out on a floured surface until it is approximately 1/2 a centimetre thick. (I roll it out on floured greaseproof paper so it doesn’t stick to my work surface.)
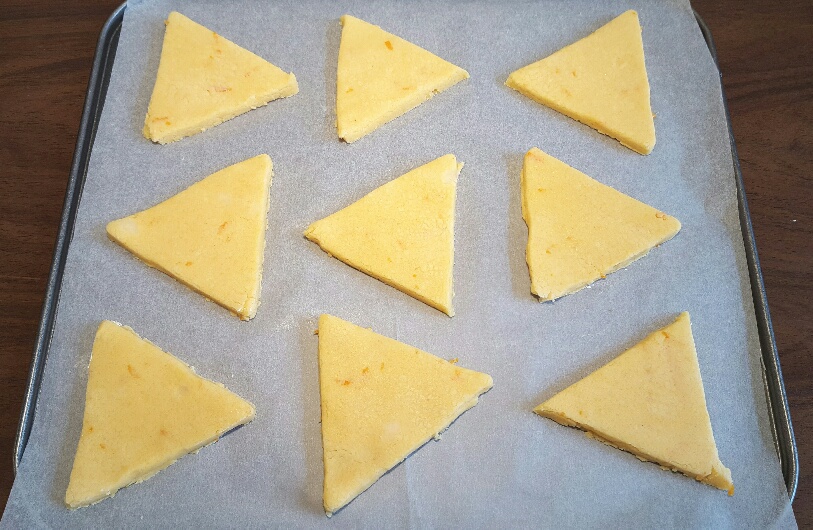
Use a biscuit cutter to stamp out your biscuits and then lay them on the greaseproofed baking trays, leaving a generous gap between each.
Bake in the oven for 12 to 15 mins or until light golden brown.
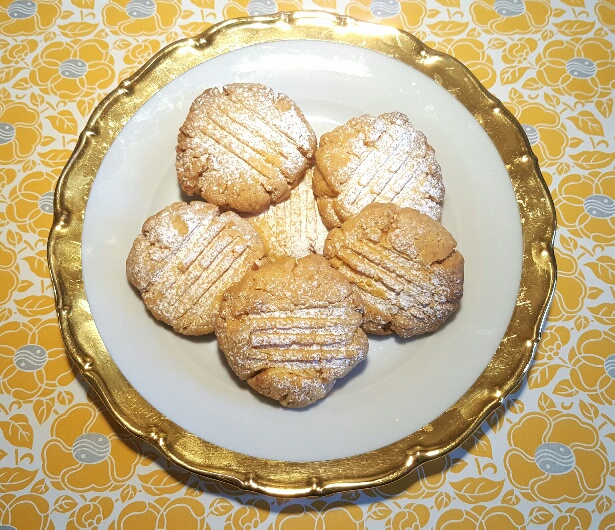
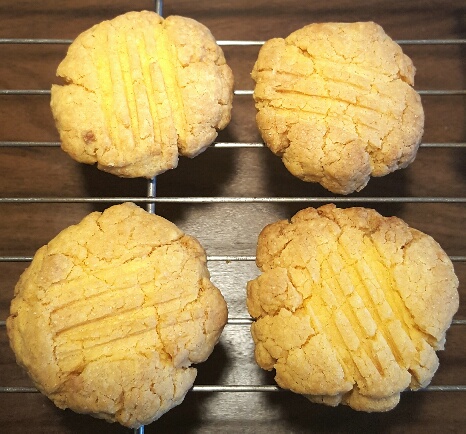
Using a fish slice to lift gently them, lay the shortcakes on a cooling rack and scatter with caster sugar.
Once the shortcakes are cool, decorate the base with dots of the buttercream icing, strawberries and fresh mint leaves and then top them with another shortcake biscuit. Serve.
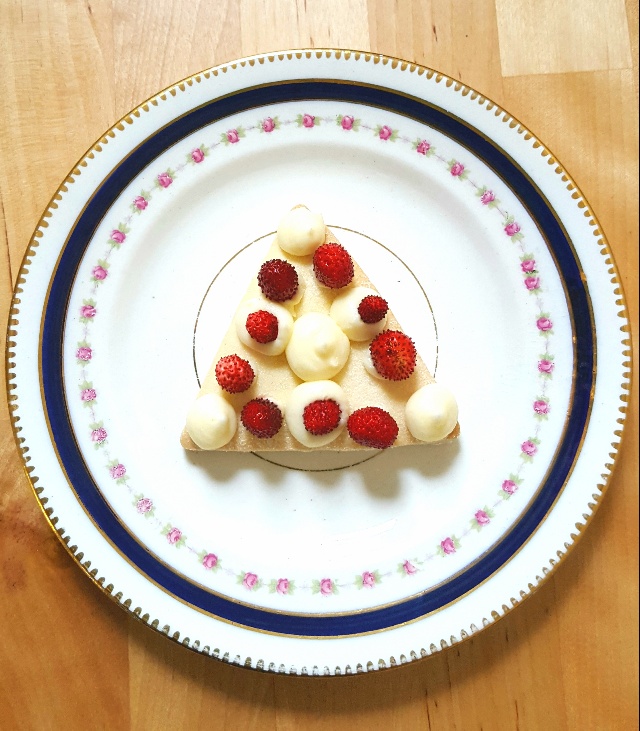
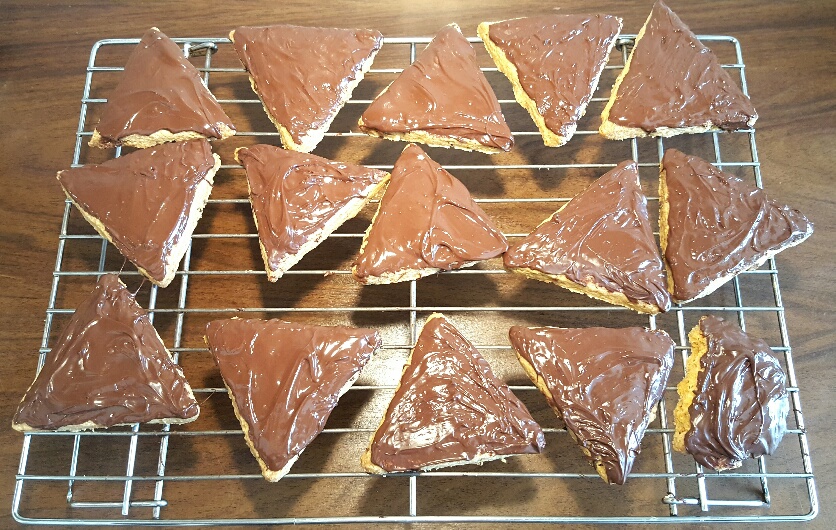
The base Layer of Strawberry Shortcakes by The Fat Foodie
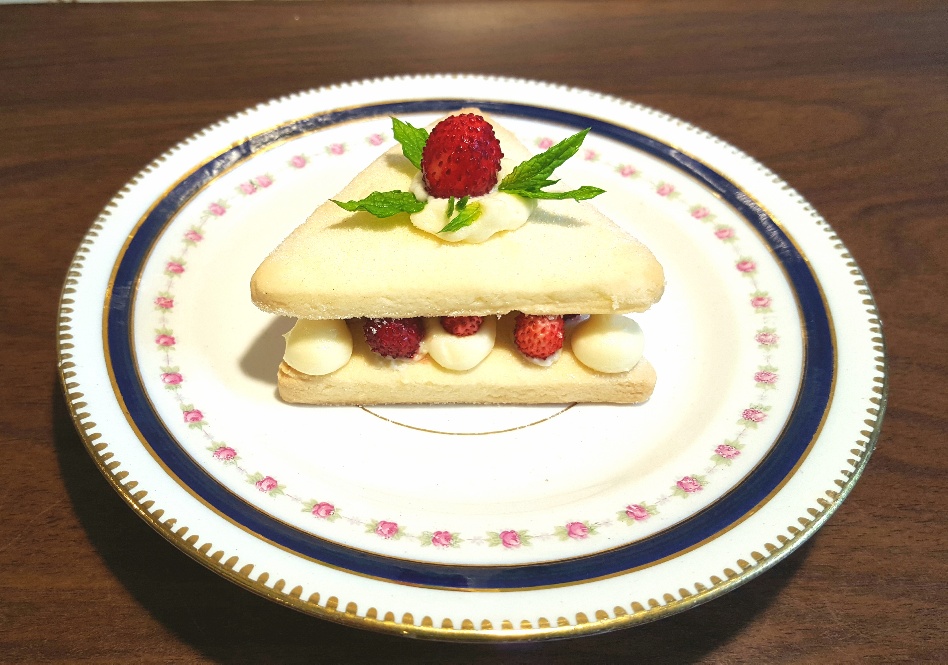
Strawberry Shortcakes by The Fat Foodie
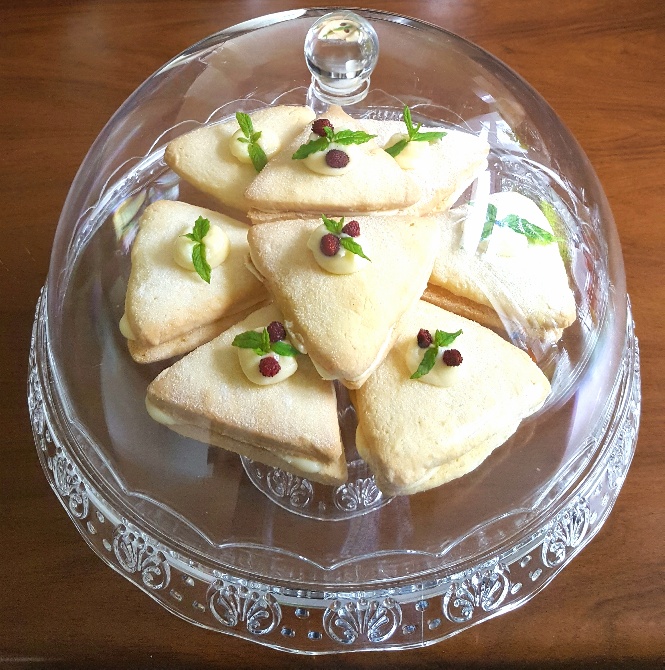
Strawberry Shortcakes by The Fat Foodie
 Copyright protected by Digiprove © 2017