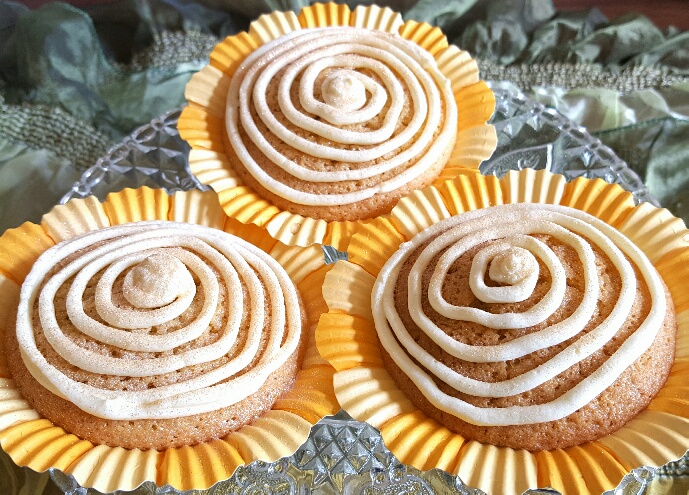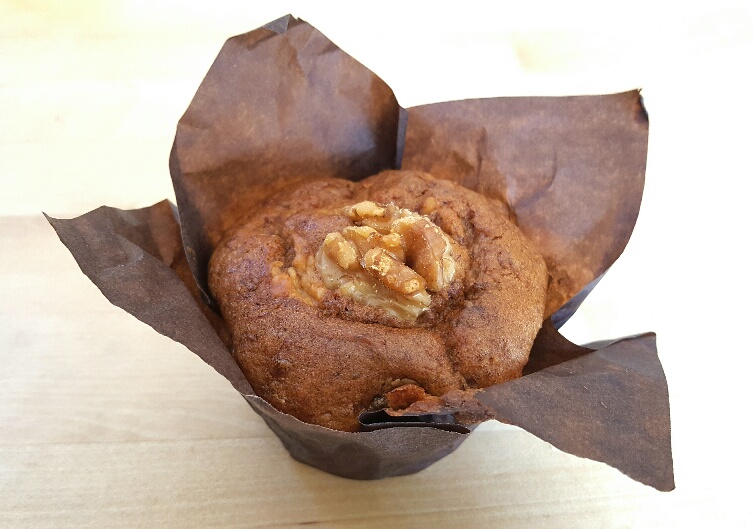
Banana Walnut Muffins with a Peanut Butter Core by The Fat Foodie
A few days ago I fancied baking something to fill the kitchen cake tin because it was looking decidedly bare. After giving it some thought and having a good rifle through the kitchen cupboards I decided to make muffins. I had some bananas which needed used up soon, there was a peanut butter jar which had only a little bit left in it and I had half a pack of walnuts at hand, so I decided to bake some banana walnut muffins with a peanut butter core.
Ripe bananas (i.e bananas which are very yellow and have brown spots on them) are high FODMAP, so don’t use them for these muffins. However, firm bananas (yellow and firm with no spots) are low FODMAP, so use this type. This recipe for banana walnut muffins makes at least 12 portions, with one serving being low FODMAP.
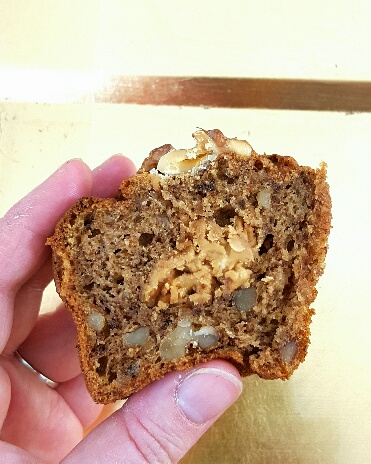
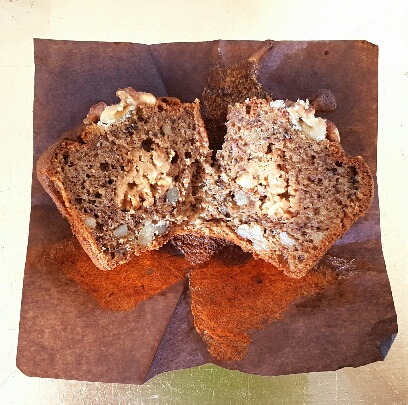
Muffins are incredibly easy to make because, to a large extent, they simply involve measuring out all of the ingredients into a mixing bowl and whisking until it’s combined. There’s no creaming of separate ingredients involved or anything like that. I’ve never made muffins with an interior surprise, but the peanut butter worked really well. I’m not sure if smooth peanut butter would have been quite as successful because I think the crunchy peanut butter definitely helps keep the core together and the crunch of the peanuts goes well with the crunchy walnuts too.
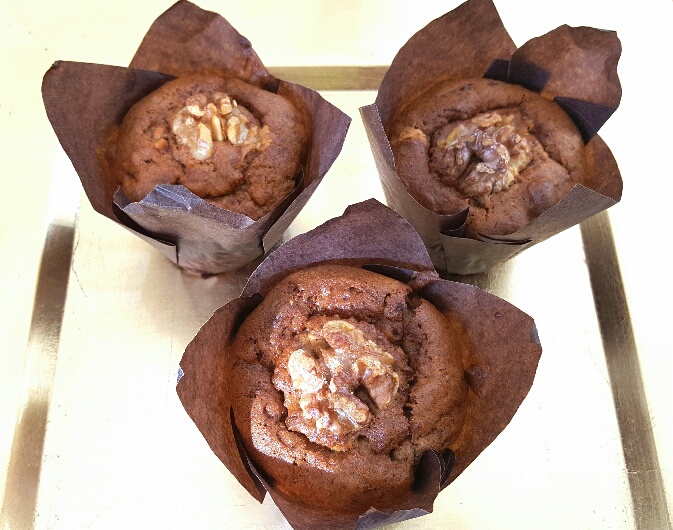
A while ago my Mum treated me to a Jamie Oliver muffin tin and although I wouldn’t ordinarily buy something purely because it’s got celebrity endorsement, I have to admit that this muffin tin is fantastic due to the depth of the muffin sections which helps to keep the shape of the muffins as they rise. Well done, Mr Oliver.
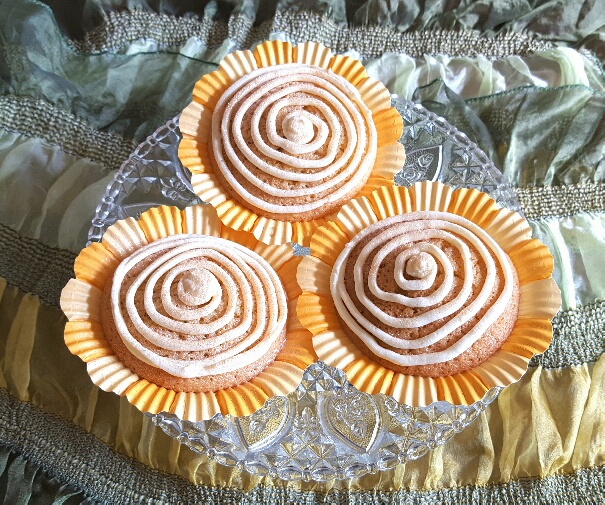
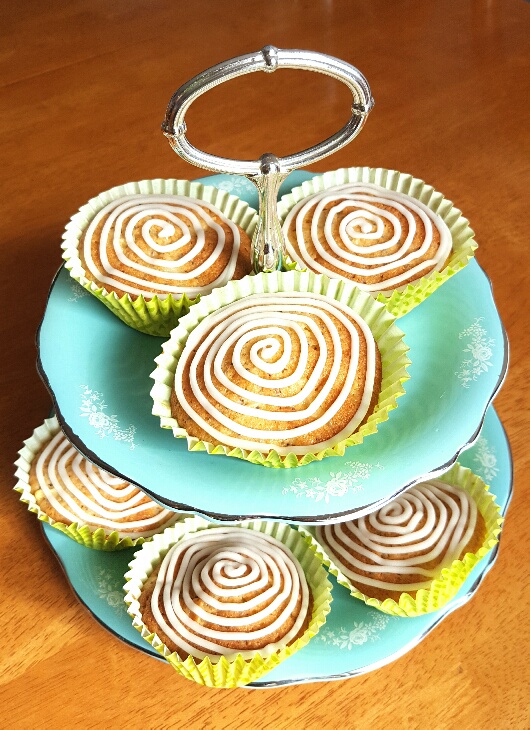
This recipe makes a lovely soft, moist banana flavoured muffin with an inner core of crunchy peanut butter that’s complemented by the flavour of the walnuts. They’re ideal for accompanying a mid-morning cuppa or as a tasty after dinner treat. Actually, they’re pretty good at any time of the day!
Banana Walnut Muffins with a Peanut Butter Core by The Fat Foodie
Banana Walnut Muffins with a Peanut Butter Core by The Fat Foodie
Ingredients:
200g gluten-free plain flour (I use Dove’s Farm G/F flour because it’s made with low FODMAP ingredients whereas many other gluten-free flours are made with high FODMAP options.)
150g dark brown sugar
2 large eggs
150ml vegetable oil
3 large firm bananas (my bananas weighed in at 320g)
1 tsp baking powder
1/2 tsp bicarbonate of soda
1 tsp xanthan gum
150g chopped walnuts
1 tsp vanilla extract
120g crunchy peanut butter
1 tsp ground cinnamon
1/2 tsp salt
Method:
Preheat your oven to 200C/180C Fan/400F/Gas mark 6.
Lay out your 12 muffin cases in a muffin tin
.
Measure all of your ingredients into a large mixing bowl and whisk until it’s all combined.
Divide the mixture equally between the 12 muffin cases and (if you like) top with a walnut half.
Bake for 30 to 35 mins and leave to cool before munching.

Banana Walnut Muffins with a Peanut Butter Core by The Fat Foodie
Banana Walnut Muffins with a Peanut Butter Core by The Fat Foodie
 Copyright protected by Digiprove © 2017